
 Pin it
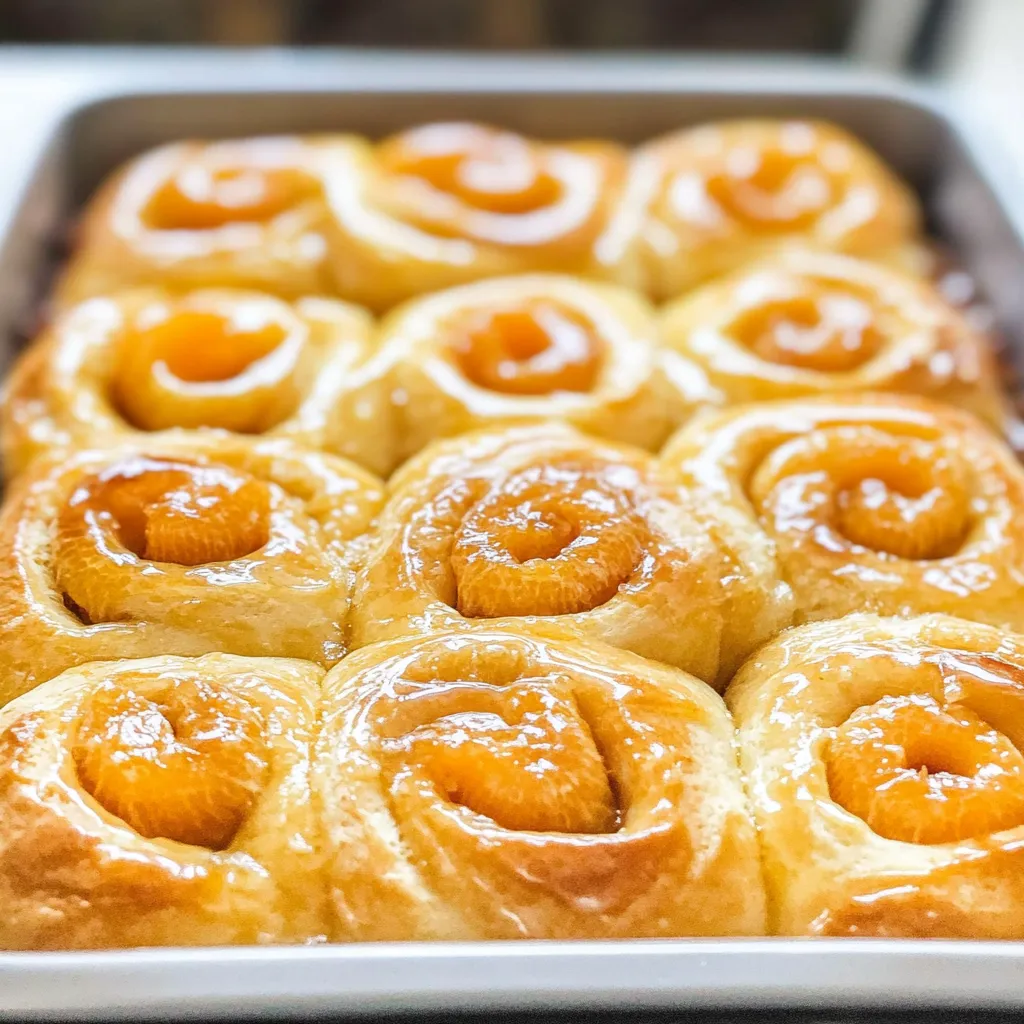
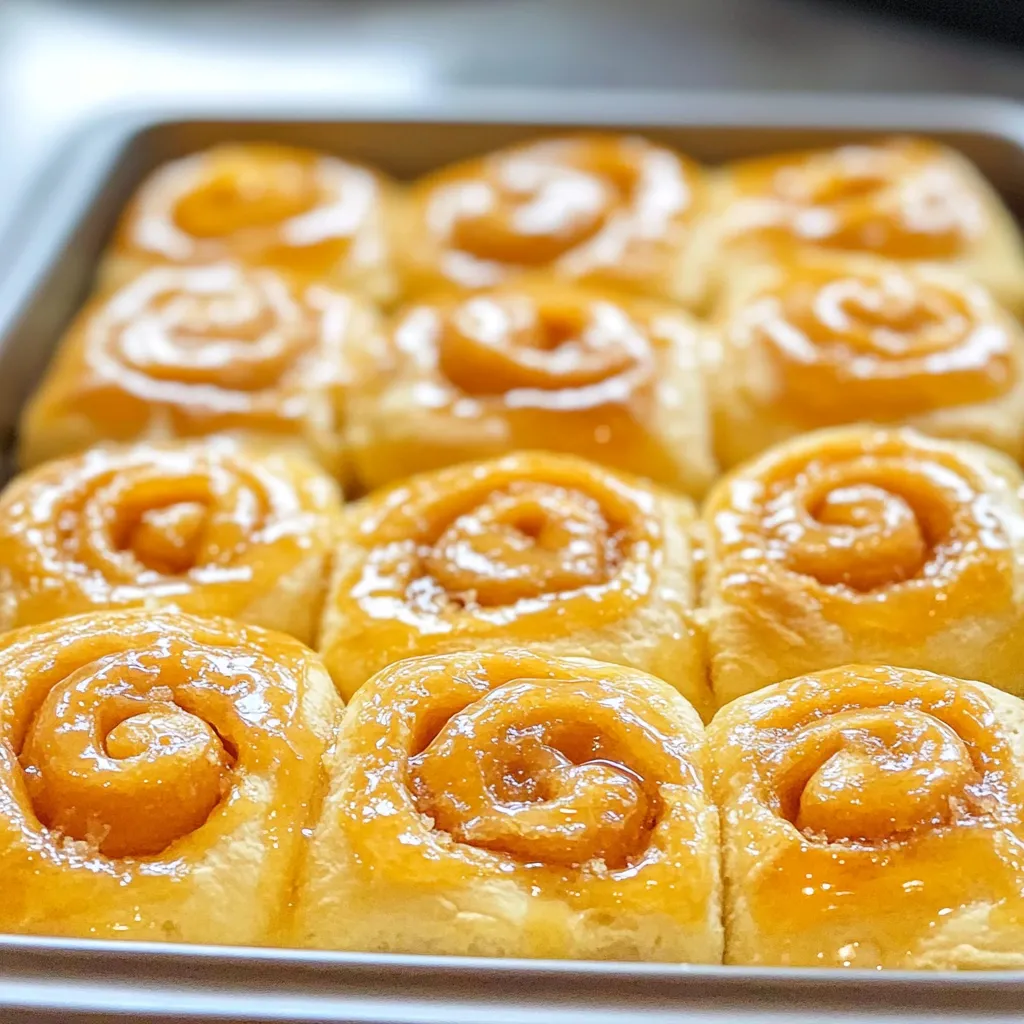
When buttery dough meets tangy orange filling, you get these amazing sweet rolls. The swirls packed with orange marmalade and topped with citrus frosting make a breakfast treat you can't resist. Your kitchen will smell incredible as they bake. Every mouthful gives you soft, fluffy texture with bright orange goodness.
I tried making these rolls dozens of times before getting them just right. Finding that sweet spot with orange flavor in both the filling and topping took several attempts. But now they're what my family begs for every weekend. Seeing guests smile after their first taste makes all that kitchen testing totally worth it.
Key Ingredients Breakdown
- All-purpose flour: Gives these rolls their backbone while staying soft
- Buttermilk: Makes the dough incredibly tender with a hint of tang
- Orange marmalade: Packs in strong citrus punch with bits of texture
- Light brown sugar: Brings warm, caramel-like notes that work with orange
- Instant yeast: Helps dough rise perfectly every time
- Unsalted butter: Lets you manage saltiness while adding richness
- Fresh orange zest: Kicks up the citrus flavor throughout
A baker in my neighborhood taught me why room temp ingredients matter for smooth dough. And I've noticed that oranges from organic farms give you zest with much more flavor punch.
Making Fantastic Rolls
- Dough Preparation:
- Start by letting yeast bubble up in warm buttermilk. Mix flour, sugar and salt in a big bowl. Work room-temp butter into dry stuff until crumbly. Add eggs and yeast mix, then knead until you get a smooth, stretchy dough.
- Initial Rising Phase:
- Put dough in a lightly oiled bowl and cover with a damp towel. Let it sit somewhere warm until it doubles – about 2 hours. When you poke it gently, the dough should feel airy and bouncy.
- Filling Creation:
- While waiting for dough to rise, mix soft butter, orange marmalade and brown sugar together. You want something you can spread easily that won't run off.
- Shaping Process:
- Roll your dough into a big rectangle on a floured counter. Spread filling all over, leaving a small edge. Roll it up from the long side to make a tight log. Cut into pieces with a gentle back-and-forth motion.
- Final Rising Stage:
- Put rolls in a greased pan with space between them. Cover and let rise until puffy – about an hour. They should be barely touching each other when ready for the oven.
 Pin it
When I was little, my grandma made orange rolls every Sunday morning. She always added a tiny bit of cardamom to boost the orange flavor. That little spice trick has become my own special touch on this old favorite.
Great Companions
These rolls taste amazing with a steaming mug of coffee. I like to serve them with some fresh fruit and yogurt for a complete breakfast. When we have company over, I put out some honey butter and extra orange marmalade on the side.
Tasty Variations
Try adding lemon zest for a different citrus kick. You can swap the orange marmalade for raspberry jam to create a berry version. If you don't do dairy, plant-based milk and butter work surprisingly well in this recipe.
Storage Solutions
Keep your cooled rolls in a sealed container at room temp for up to 3 days. Want one warm? Pop it in the microwave for 15-20 seconds. You can freeze rolls without glaze for up to 2 months – just thaw overnight before warming and adding glaze.
 Pin it
My time working on these orange rolls taught me that taking it slow leads to the best results. When you give the dough proper time to rise and handle it carefully, you get truly special rolls. Though it might seem like a lot of steps, the joy these bring to breakfast tables makes every minute of work count.
Frequently Asked Questions
- → Can I prep the orange rolls early?
- Definitely! Shape the rolls, then refrigerate them for up to 16 hours. Let them sit at room temperature for an hour before baking.
- → How long will the rolls stay soft?
- They’ll stay fresh for about 4 days in a tightly sealed container at room temperature. A quick microwave zap keeps them pillowy.
- → Can I keep these rolls in the freezer?
- Yes, they freeze wonderfully for up to 6 months. Let them thaw and glaze right before serving for the best experience.
- → Why is dental floss better for cutting the rolls?
- Using dental floss gives you clean cuts without squashing the dough. Knives can press the rolls out of shape, but floss keeps them neat.
- → Which yeast works best in this recipe?
- Go for instant dry yeast like Red Star Platinum. Be sure to follow the specific temperature instructions for any yeast you use.