
 Pin it
After getting hit with celiac disease, my whole family struggled to find decent gluten-free dinner rolls. Everything we tried was awful - too hard, falling apart, or just plain gross. The turning point came when I took a class with Rachel who used to run Gluten Free Mama. Her approach changed everything for us.
Rachel let me tweak her amazing recipe that's no longer found online. I'm so glad to share this version with you now. These rolls aren't just something we settle for - they're actually delicious! We make them for every holiday and randomly throughout the month because we love them so much.
My Journey and Breakthrough
Making gluten-free rolls was nothing but headaches before I found this method. We tried so many recipes but ended up with what felt like rocks or sawdust instead of bread. Then Rachel showed me her technique. The way she combined specific gluten-free flours with just the right extra stuff made rolls that taste just like regular ones. You seriously can't tell the difference.How I Changed the Recipe
What I'm showing you today is my take on Rachel's fantastic method, tweaked so anyone can make awesome gluten-free rolls at home. These aren't just side items - they're the stars of our meals sometimes. They come out super soft inside, taste buttery and rich, and honestly make everyone happy. No more disappointment at bread time!Where It All Started
Rachel's careful testing is what makes this recipe work so well. She wanted to create something that wouldn't make people miss regular dinner rolls, and she totally nailed it. The secret is both what goes in and exactly how you put it all together.What You'll Need
- Quality Flour Mix: 2¾ cups (11½ oz.) of any top-notch gluten-free flour mix. Try Gluten-Free Mama's Almond blend, Authentic Foods Multi-Blend, or something similar that already has xanthan gum added.
- Gum Helper: 1 1/2 tsp. xanthan gum. Skip this if your flour already includes it.
- Rising Agent: 2 tsp. SAF instant yeast.
- Sweetener: 1/4 cup sugar.
- Flavor Enhancer: 1 tsp. salt.
- Liquid Base: 1 cup warm water (105-110°F).
- Fat Component: 2 Tbsp. butter, dairy-free spread, or Spectrum organic shortening.
- Binding Agent: 1 egg, best if not cold from fridge.
- Acid Touch: 1 tsp. cider vinegar.
Mix Everything Together
- Step 1:
- Put all your dry stuff in a big bowl. That means your gluten-free flour, xanthan gum, yeast, sugar, and salt. Give it a good stir so everything gets mixed up evenly.
- Step 2:
- While your mixer runs slowly, pour in the warm water, melted butter (or whatever fat you're using), egg, and that splash of cider vinegar. Keep mixing until you can't see any dry spots. Then crank up the mixer to medium and let it go for 3 minutes until you've got smooth, well-mixed dough.
Form Your Rolls
- Step 1:
- Coat an 8" or 9" round cake pan or pie dish with cooking spray.
- Step 2:
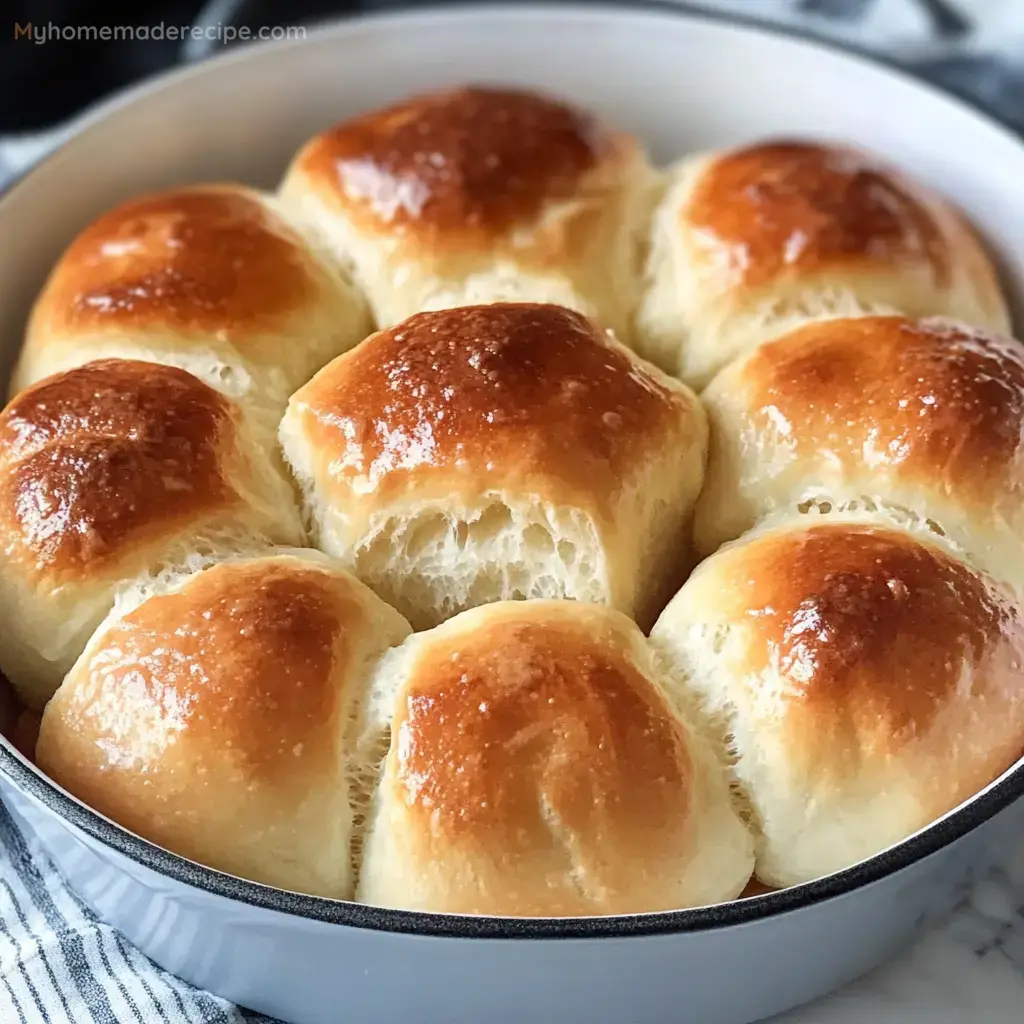
- Grab a 2" scoop or 1/3 cup measure and drop 9 lumps of dough into your pan. Put one right in the middle and arrange the others around it in a circle. Wet your fingers with warm water and smooth the tops of each roll, keeping your fingers damp to stop the dough from sticking.
Let Them Grow
- Step 1:
- Throw a clean towel over the pan and set it somewhere warm for 45 minutes to an hour. This waiting part can't be rushed - it's what makes your rolls light and fluffy as the yeast does its magic.
Cook Them Up
- Step 1:
- Get your oven hot at 400°F during the last bit of rising time.
- Step 2:
- Stick the pan on the middle shelf and bake for about 25-28 minutes. You want the tops to look golden brown and if you have a thermometer, the inside should hit 200°F. Just watch them since every oven cooks a bit differently.
Final Touch
- Step 1:
- Pull your rolls out when they're done and brush some extra melted butter over the tops - about 1/2 to 1 tablespoon will do. This makes them shiny and adds that last bit of yummy butter flavor that makes everyone grab for seconds.