
 Pin it
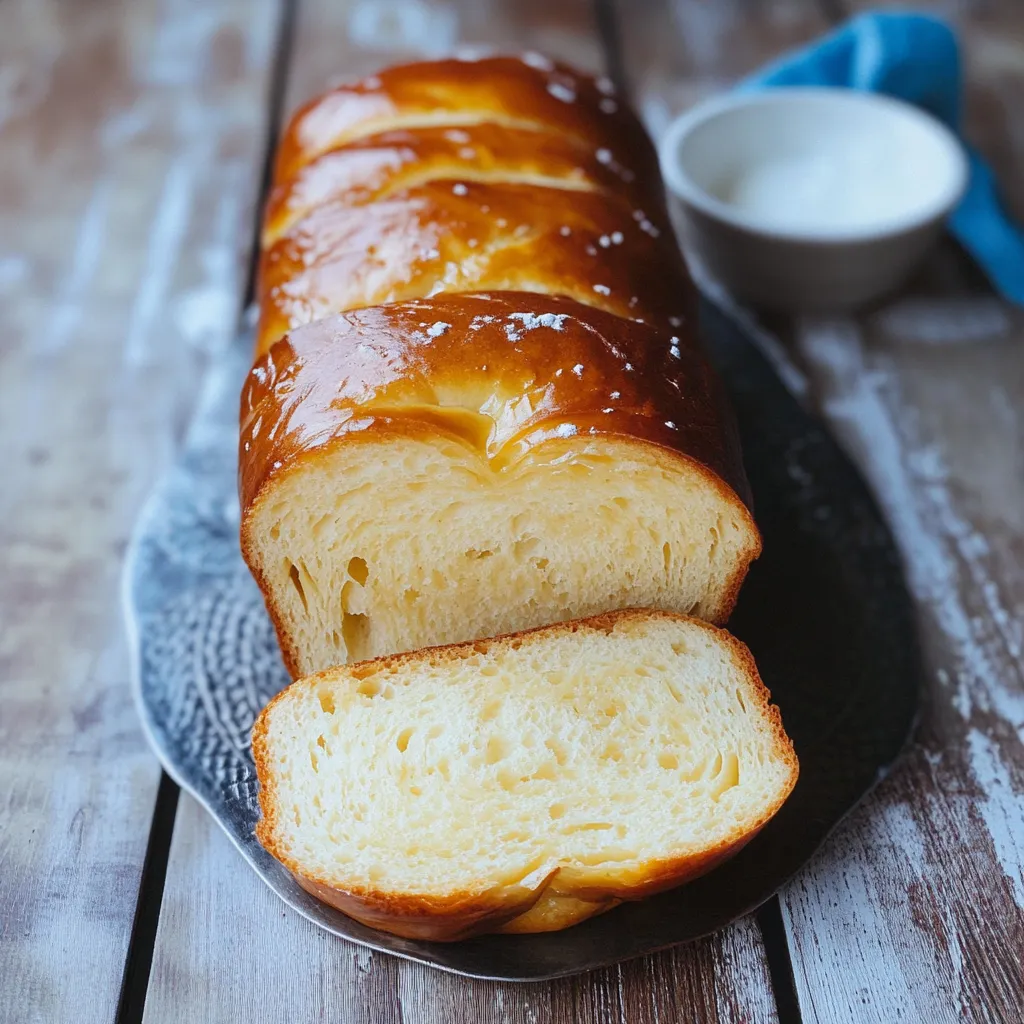
Sweetened condensed milk turns basic items into a remarkable bread with fluffy, pillow-soft texture and gentle sweetness that stays with you after each bite. The velvety inside tears into soft, delicate strips while the brown outer layer gives just the right crunch for a perfect mouthful. This loaf works well as both an everyday sandwich base and a special treat, making it great for breakfast toast or fancy finger sandwiches alike.
I first tried making condensed milk bread during a stormy weekend when I wanted something nice but doable. When I took that golden brown loaf out of my oven, my kitchen smelled like warm caramel and my whole family came running. Just one taste of that cloud-like softness told me we'd found our go-to homemade bread—fancy enough for company but easy enough to make often.
Smart Ingredient Choices
- Sweetened condensed milk: Adds unique taste and makes the bread tender thanks to its proteins and sugars
- Cake flour: Makes a smoother texture though regular flour works too with slight changes
- Whole milk: Gives needed wetness and fat that helps the dough grow right
- Unsalted butter: Lets you manage salt better while adding richness
- Instant yeast: Works more dependably without the extra steps that active dry needs
- Egg wash: Gives that lovely brown shine and helps toppings stick well
Stunning Bread Preparation
- Starting Mix:
- First, warm the whole milk to about 100°F, making a cozy spot for yeast to grow without killing it. Mix condensed milk with the warm milk until they're fully blended. In another big bowl, stir together cake flour, salt, sugar and instant yeast so everything's spread out evenly. Make a hole in the middle of the dry stuff and pour your milk mix into it. Stir with a wooden spoon until you get a rough, lumpy dough that uses up most of the dry stuff.
- Building Texture:
- Move your partly mixed dough to a lightly floured counter or use a mixer with a dough hook. Start kneading by pushing the dough away from you, then folding it back toward yourself over and over. Keep this up for about ten minutes until the dough feels smooth and stretchy. Add room temperature butter bit by bit, making sure each piece blends in before adding more. When done right, your dough should stretch thin without breaking when pulled between your fingers, looking almost see-through like a window.
- First Rising Time:
- Shape your kneaded dough into a tight ball by tucking the edges under to make the top smooth. Put it in a lightly oiled bowl, flip it once so the whole thing gets oiled to stop it drying out while rising. Cover the bowl with plastic wrap or a damp cloth and put it somewhere warm with no drafts. Let it grow until it's twice as big, which takes about 60 to 90 minutes depending on how warm your kitchen is. You'll know it's ready when you poke it gently and the dent stays.
- Getting It Shaped:
- Gently press down on the risen dough with flat hands, then move it to a clean counter. Cut it into equal pieces using a bench scraper or sharp knife. Shape each piece into a tight ball by creating tension across the top. Roll each ball into a tube about eight inches long before arranging them in your greased loaf pan. Put the tubes with their cut sides facing the pan walls to make the bread look nice when baked.
- Second Rise:
- Cover your shaped dough loosely with plastic wrap or a clean towel before putting it in a warm spot for the second rise. Let it grow until it nearly reaches the top of the loaf pan, about 45 to 60 minutes. The dough is ready when it slowly springs back after you press it lightly with your finger. While it's rising, heat your oven to 350°F so it's good and hot before baking starts.
- Baking Success:
- Mix an egg with a tablespoon of water until smooth for your egg wash. Brush it gently on the risen dough with a soft brush, being careful not to press down and deflate all your hard work. Bake in your hot oven for about 35 minutes, turning halfway through for even browning. Your bread is done when it sounds hollow when tapped on the bottom and reaches 190°F inside when checked with a thermometer.
 Pin it
When my grandma first showed me condensed milk, she taught me how this one simple thing could turn ordinary food into something extra special. She'd spread just a thin layer on toast or drizzle some over fresh fruit, always using it sparingly because it was hard to get during wartime when she was little. While making this bread, I wanted to capture that same magic, letting condensed milk turn basic bread into something you'll remember without taking over its simple goodness.
Tasty Serving Ideas
Try slightly warm slices with fresh mashed berries for a breakfast treat that balances tangy fruit with the bread's sweetness. Make tiny sandwiches with cream cheese and cucumber for a fancy afternoon snack. Or toast thick pieces until golden and spread with cinnamon butter for an easy dessert that takes almost no time but tastes amazing.
Tasty Twists
Try mixing dried cranberries and orange zest into the dough before shaping for a holiday breakfast option. Add a tablespoon of matcha powder to the dry ingredients for a subtle green tea flavor that looks cool too. Or make individual rolls instead of a big loaf, baking for just 20 minutes to get perfect single servings.
Keeping It Fresh
Keep fully cooled bread in an airtight container or closed plastic bag at room temperature for up to three days to maintain its texture. Bring slightly stale bread back to life by warming it for about five minutes in a 300°F oven to make it soft again without drying the edges. Don't trap moisture by making sure your bread is completely cool before storing it, or you'll end up with a soggy crust that ruins the texture.
 Pin it
My adventure with condensed milk bread reminds me that baking isn't just following steps but a full experience that connects different generations through shared tastes. The process needs patience and focus but pays off with amazing smells filling your kitchen and unique texture you can't buy in stores. Whether you're making this bread for family or friends, its special character gets people talking while its flexibility means empty plates every time. The gentle sweetness and outstanding texture show how basic ingredients can turn into something much greater when handled with care.
Frequently Asked Questions
- → Can I swap cake flour with all-purpose flour?
- Absolutely! Replace 1 cup of cake flour by using slightly less all-purpose flour and adding 2 tablespoons of cornstarch. This helps achieve that light texture.
- → How long will this bread stay good?
- When you wrap it well and keep it in a cool, dry place, this bread stays fresh for about 3 days.
- → Why does this recipe need two rising stages?
- Proofing twice builds structure and flavor. The first rise helps create a fluffy texture, and the second rise allows the shaped dough to expand properly.
- → Can I freeze the bread for later?
- Yes! Wrap it tightly in plastic wrap, followed by foil, and freeze. Let it thaw at room temperature before serving.
- → What makes this bread so soft?
- It’s the blend of condensed milk, eggs, and butter. These ingredients create a rich, fluffy dough with just a touch of sweetness.