
 Pin it
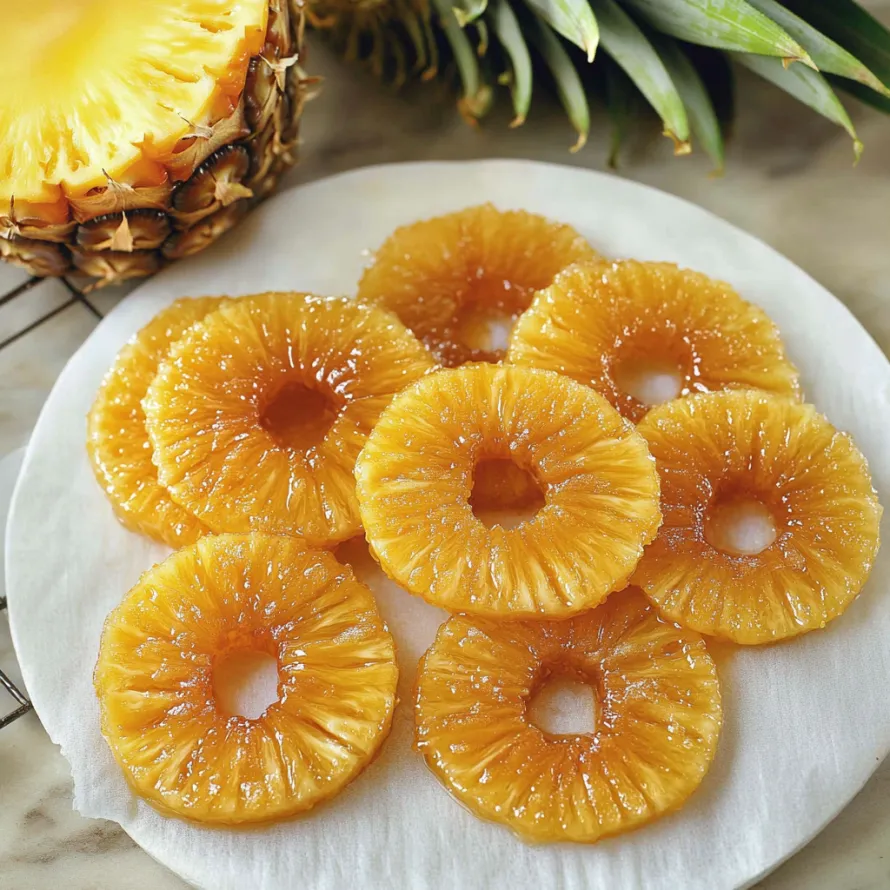
Tangy chewy glazed pineapple turns plain fruit into amazing snacks with little work and only three basic ingredients. This simple method doesn't need fancy tools like dehydrators or candy thermometers but still makes top-notch treats every time. These sweet rings work great for snacking, jazzing up cakes, giving as presents, or adding tropical taste to your favorite sweet dishes.
I whipped up these glazed pineapple rings while getting ready for my sister's beach-themed birthday bash. They started as just decorations for her coconut cake but ended up stealing the show at the dessert table. I caught guests sneaking pieces all night, and many folks wanted the recipe before they headed home.
Tasty Basics
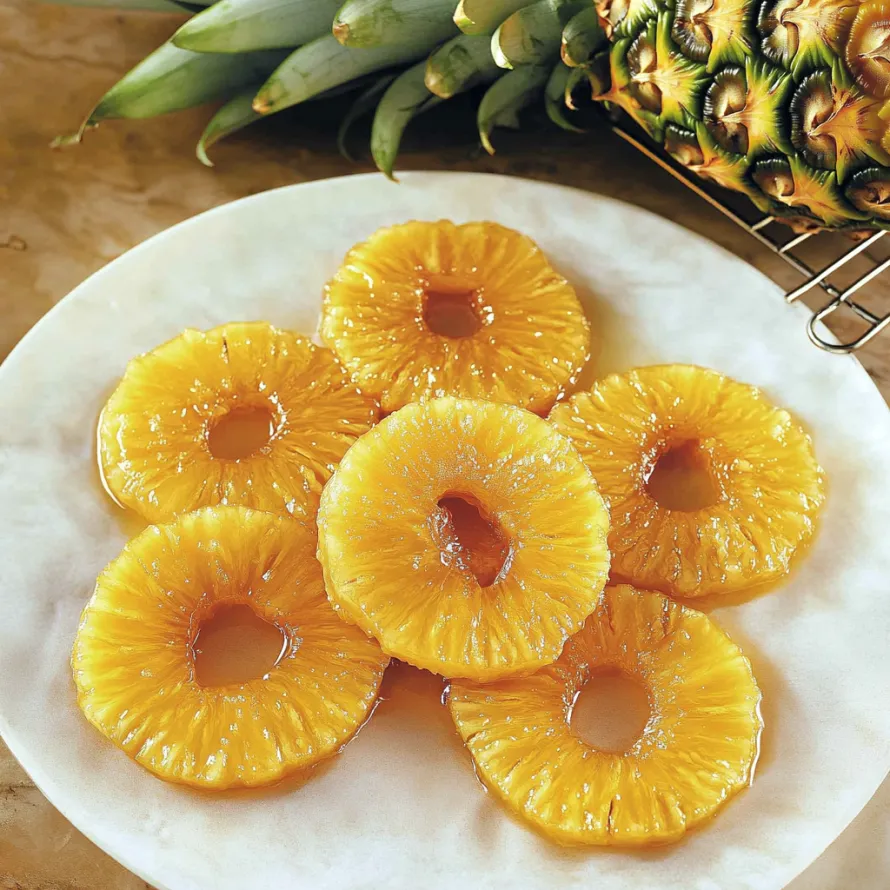
- Pineapple rings: Form the base with their tropical taste and circular shape that looks elegant when served.
- White granulated sugar: Makes the perfect sweet layer while helping keep the fruit fresh longer.
- Light corn syrup: Stops sugar crystals from forming while cooking and gives that shiny finish everyone loves.
- Pineapple juice: Boosts the natural flavor and supplies the needed liquid for making candy syrup.
- Fresh pineapple option: Gives stronger flavor with a bit more chew in your finished treats.
- Canned pineapple alternative: Saves time and gives reliable outcomes for first-timers.
Cooking Instructions
- Pineapple Preparation:
- If using canned rings, drain them well but save the juice for your syrup, or if using fresh, cut uniform half-inch thick circles and take out the hard middle for even cooking.
- Syrup Creation:
- Mix 1 1/2 cups of pineapple juice with 1/2 cup sugar and 1/2 cup corn syrup in a big pot, stirring on medium heat until sugar melts completely and you can see through the mixture.
- Heat Management:
- Let your syrup reach a soft low boil and keep it there for four minutes, watching it closely so it won't burn or turn into caramel by mistake.
- Pineapple Immersion:
- Turn heat down to a simmer then gently put pineapple rings into the warm syrup, laying them flat without touching so they all cook the same and soak up plenty of sweetness.
- Cooking Process:
- Let pineapple simmer in the syrup for about 45 minutes, flipping each piece now and then with a slotted spoon until the fruit turns see-through and gets fully sweet.
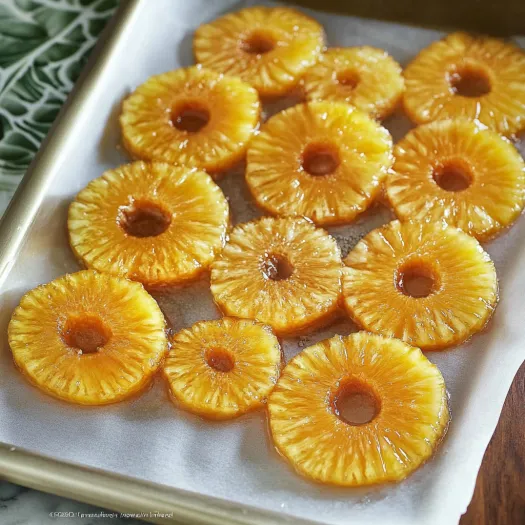
- Drying Method:
- Move your sugar-coated rings to a wire rack placed over parchment paper to catch drips, letting them dry overnight or speed things up by putting them in a 200°F oven for 30 minutes.
- Final Coating:
- When completely dry and no longer sticky to touch, roll each piece in more sugar if you want extra sweetness and that pretty sparkly look that keeps them from sticking together.
- Storage Preparation:
- Put fully dried glazed pineapple in sealed containers with parchment paper between rows to stop sticking, keeping at room temp for short times or in the fridge to last longer.
 Pin it
This method came from my grandma who used fresh pineapples right from her Florida yard. She always waited for them to get super ripe before cooking, saying the natural sweetness made the finished treats way better. Since I rarely get such perfect fruit, I've found that adding a spoonful of vanilla to the syrup helps bring out the sweetness in grocery store pineapple, making it taste like those summer treats I remember from visits to her house.
Serving Suggestions
Make plain fruit platters look fancy by adding glazed pineapple rings next to fresh berries and mint for nice color. Cut glazed pineapple into small bits and mix into vanilla ice cream with toasted coconut for a taste of the tropics. Stack whole rings between cake layers with cream cheese frosting to create a beautiful cake that shows off pretty cross-sections when you cut it.
Flavor Variations
Add extra flavors to your syrup like vanilla bean, cinnamon sticks, or star anise for grown-up taste beyond just sweetness. Pour in a bit of rum to the mixture for adult versions that work great in holiday fruitcakes or fancy desserts. Try sprinkling finished glazed pineapple with chili powder or Tajín for a surprising sweet-hot combo that's popular in beach destinations.
Preservation Tips
Keep fully dried glazed pineapple in glass jars instead of plastic bags for better freshness and flavor. Don't mix different sizes together since smaller pieces dry faster and might get too hard if stored with bigger, juicier chunks. Think about vacuum-sealing portions if you want them to last up to six months with perfect texture, which also stops them from getting damp in humid weather.
 Pin it
Making glazed pineapple at home links me to cooking traditions that turn basic ingredients into something really special. What I love most about this method is how it shows off food preservation techniques from before we had fridges, while making something way tastier than just practical. The process changes both how it feels and tastes, concentrating that tropical pineapple essence into golden rings that bring summer sunshine even on cold winter days.
Frequently Asked Questions
- → Can fresh pineapple work instead of canned ones?
- It sure can! Slice it into ½-inch thick rings. Fresh ones give a tangier taste and firmer texture, while canned is softer and sweeter.
- → How do I tell when the pineapple is dry enough?
- When it’s no longer sticky, you’re good to go! Any tackiness means it needs more time. The texture should be chewy but not sticky.
- → Is it possible to skip the corn syrup?
- Yep, you can use honey or maple syrup instead. Corn syrup helps reduce crystallization and adds shine, but other options will work too with a slight texture change.
- → How long does candied pineapple stay fresh?
- Keep it in a sealed container at room temperature for about a week. For longer, refrigerate up to 2 months or freeze for 6 months.
- → Why did my candied pineapple turn out hard?
- It might have been overcooked or the heat was too high. Stick to a gentle simmer and watch for it to turn see-through without overcooking.
- → What can I use leftover syrup for?
- Don't waste it! Sweeten drinks, drizzle it on pancakes or ice cream, or use it to make more candied fruit like oranges or lemons.