
 Pin it
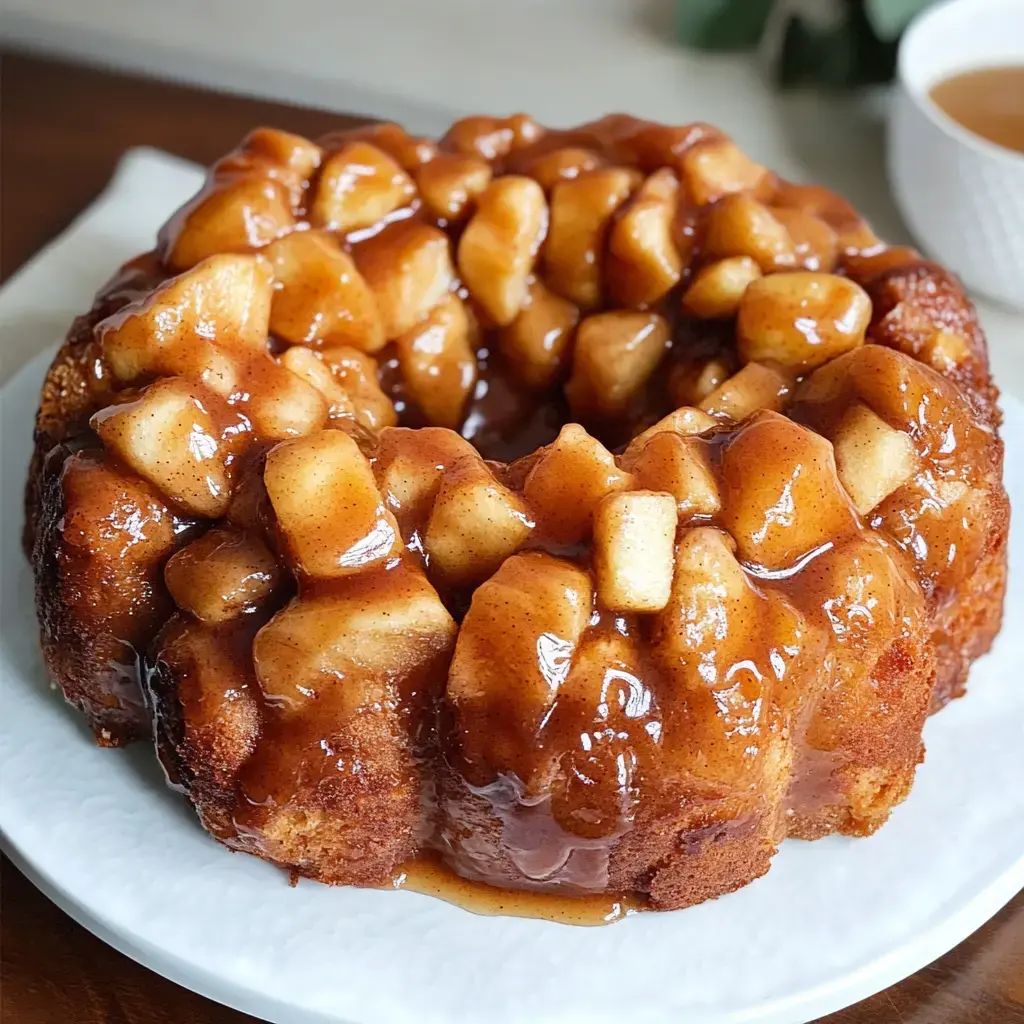
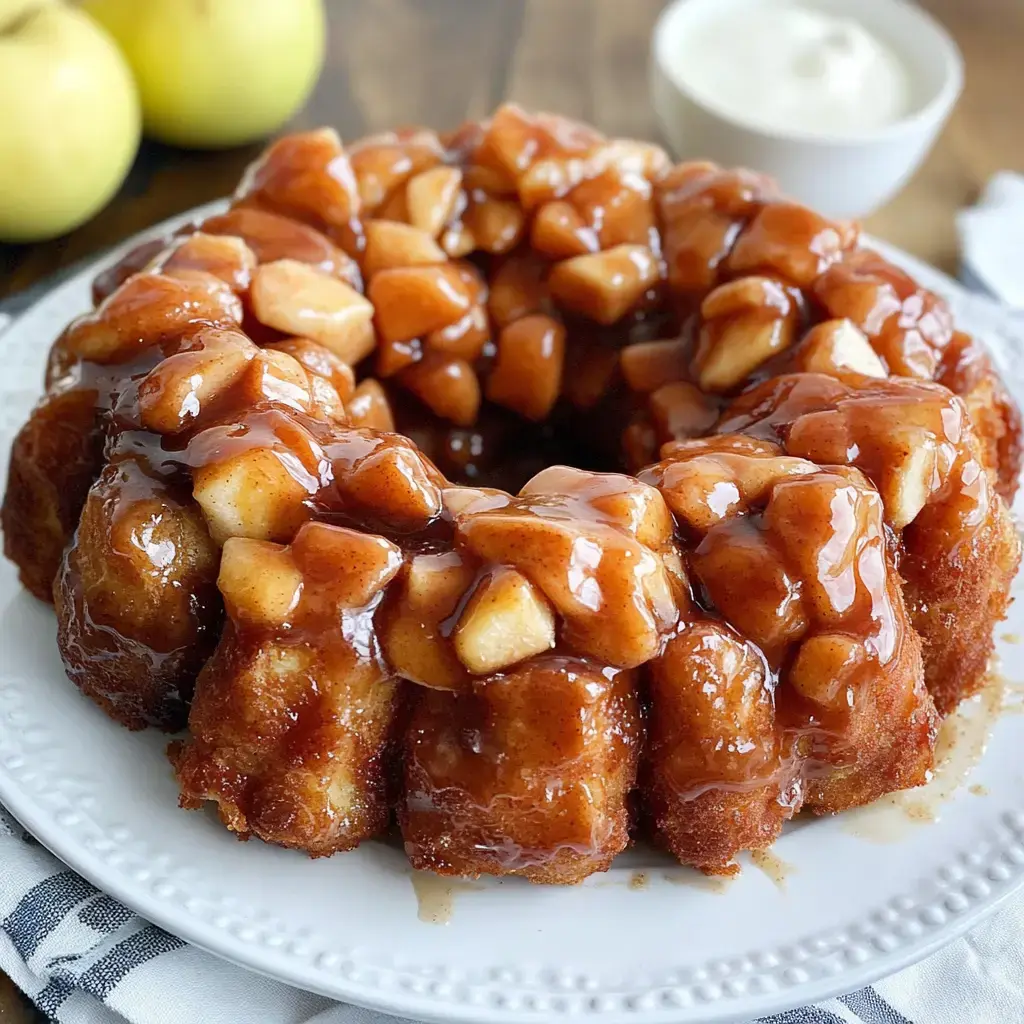
Your kitchen will fill with mouthwatering scents when you bake this Apple Fritter Pull-Apart Loaf. Diced biscuits wrapped in cinnamon sugar mix with chunks of apple and bake into a gooey, sweet treat. It's wonderful served warm for breakfast or as an after-dinner sweet.
Benefits of This Treat
You'll get bakery-quality results without much work. The pre-made biscuits save tons of prep time. As they cook, the apple bits turn wonderfully tender. Every bite comes apart in sticky, delicious pieces. It turns an ordinary morning into something special, and it's basically impossible to turn down when served as a dessert that rivals apple pie.
Ingredients List
- Biscuits: 2 packages (16 count) refrigerated buttermilk biscuits. Store in fridge until use
- White Sugar: 1 1/2 cups granulated. Set aside extra for dusting
- Cinnamon: 3 tablespoons ground. Check the date - stale cinnamon won't taste good
- Brown Sugar: 1 cup firmly packed. Either variety works fine
- Butter: 2 sticks unsalted. Soften one at room temperature
- Apples: 3 large crisp apples. They should be firm and unblemished
- Lemon: 1 whole fresh lemon. You'll need the juice and zest
- Powdered Sugar: 2 cups for topping. Strain it for smoothness
- Milk: 1/4 cup whole milk. Keep refrigerated until needed
- Vanilla: 2 teaspoons genuine vanilla extract. Skip the artificial kind
- Additional butter: For thoroughly coating the baking dish
- Bundt Pan: 10-inch capacity preferred
 Pin it
Preparation Steps
- First things first:
- Preheat oven to 350°. Completely coat your bundt pan with butter, making sure to reach all crevices to prevent sticking.
- Prepare your fruit:
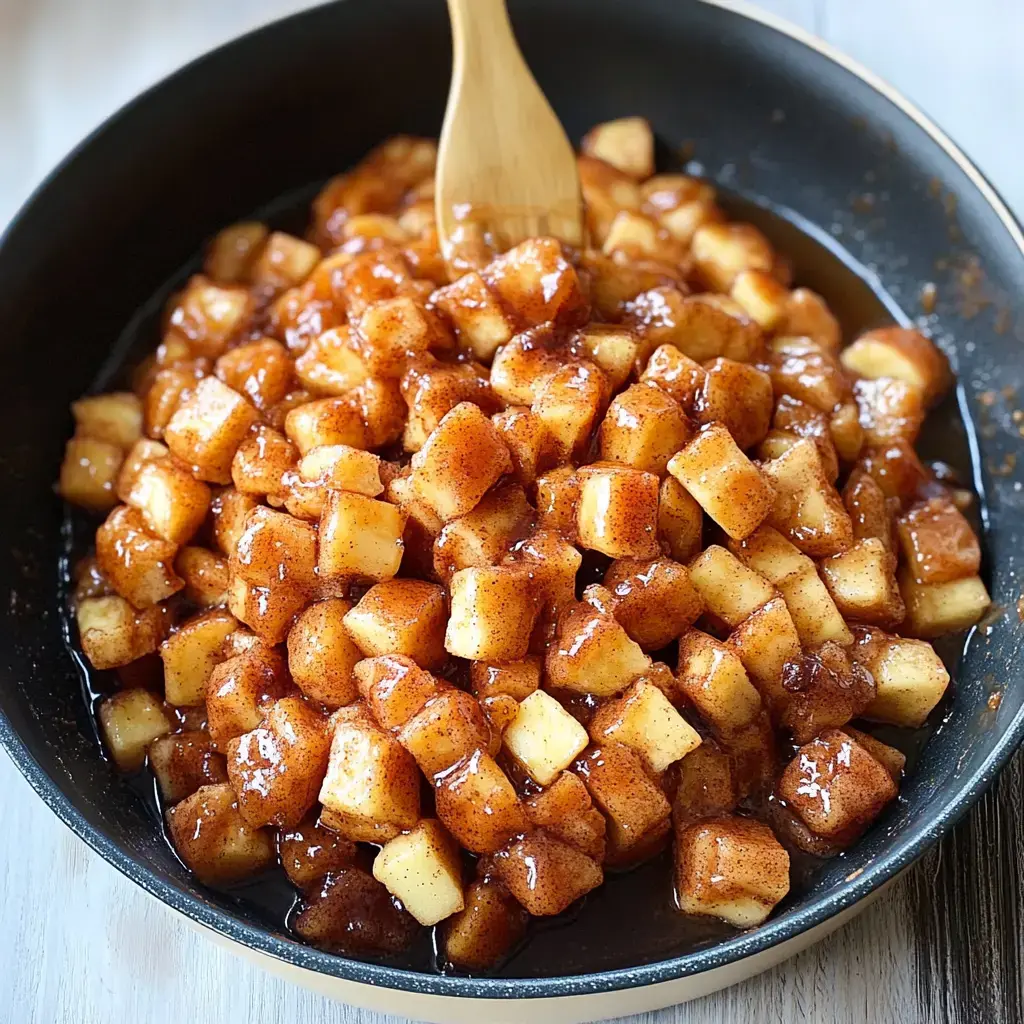
- Thoroughly clean and skin 3 large apples. Remove the middle sections. Dice into small chunks about 1/2 inch across. Drizzle with fresh lemon juice and toss. Add 2 tablespoons sugar and 1 tablespoon cinnamon. Mix thoroughly.
- Soften the fruit:
- In a large skillet, melt one stick of butter over medium heat. Add all apple pieces. Cook for 8-10 minutes, stirring occasionally until tender but still holding shape. Remove from burner. Allow to cool while continuing with other steps.
- Prepare the biscuits:
- Unwrap both containers of biscuits. Slice each biscuit into quarters. Don't worry about perfect cuts - just aim for similar sizes.
- Create sugar mixture:
- In a large mixing bowl, combine 1 cup sugar with 2 tablespoons cinnamon. Stir until completely blended.
- Sugar coat the pieces:
- Toss 6-8 biscuit chunks in the cinnamon sugar at once. Swirl until fully covered. Repeat with all remaining pieces.
- Layer your ingredients:
- Place half the sugared dough chunks into your pan. Spread half the cooked apple mixture on top. Add remaining dough, followed by leftover apples.
- Create the caramel:
- Combine one stick of butter with 1 cup brown sugar in a saucepan. Heat on medium, stirring constantly until bubbly, about 3 minutes. Pour evenly over everything in the pan.
- Oven time:
- Position pan in the center rack of your oven. Bake for 35-40 minutes. The top should be golden brown. Test with a knife - it should come out mostly clean.
- Cooling period:
- Remove from oven. Let stand for 10 minutes - don't rush or it won't hold together!
- Finish with topping:
- Mix 2 cups powdered sugar with 3-4 tablespoons milk and a teaspoon of vanilla. Stir until smooth. Drizzle over the warm bread.
Sugar Coating Tips
The cinnamon sugar is what makes this treat stand out. Work with smaller amounts at a time - dry sugar sticks to the dough better. When it starts getting wet, throw it out and make a new batch. Keep a little extra cinnamon sugar aside to sprinkle on just before adding the final topping.
Choosing Your Fruit
Granny Smiths are your best bet since they stay firm when cooked. Pick fruits that don't give when you press them. Larger ones save time on peeling. Cut everything the same size for even cooking. Don't use apples that show discoloration - they're past their prime and won't taste as good.
Perfecting Your Topping
Always use newly opened powdered sugar - it clumps over time. Put 2 cups in your mixing bowl. Add milk gradually, tablespoon by tablespoon. Keep mixing. You want a consistency like warm honey that pours slowly. Mix in vanilla at the end. Pour it in rings over your warm bread. If it runs too much, add more sugar. Too stiff? A few drops of milk will fix it.
Troubleshooting Guide
Can't get it out of the pan? Use more butter next time when greasing. Raw in the center? Cover with aluminum foil and cook 5 more minutes. Apples too crunchy? Dice them smaller for your next batch. Icing too gloppy? Warm it slightly with a dash more milk. Bottom getting too dark? Raise the pan position in your oven.
 Pin it
Storage Advice
Cool your bread completely for one hour before storing. Place in an airtight container. It'll stay good for 3 days at room temperature or 5 days refrigerated. To enjoy later, warm a slice in the microwave for 15 seconds. For best taste when entertaining, make it the same day you'll serve it. Leftover portions can be wrapped in aluminum foil and frozen for up to 2 months.
Frequently Asked Questions
- → Can I use a different dough?
For sure! Cut up loaf bread dough into chunks or use crescent roll dough—it might even turn out better. Pizza dough can work too but coat it in butter first, and thawed bread dough works great. Just steer clear of super soft ones like croissant dough, as they can fall apart. Make sure whatever you choose is close to room temp. Baking time may vary depending on the dough, so keep an eye on things the first time you try.
- → What’s the best way to skip wheat?
There are gluten-free biscuit doughs available from brands like Pillsbury or Annie’s—those are lifesavers. Or you can use a thick version of gluten-free pancake mix in small spoonfuls. Firmness is key here. Adding an extra egg helps things hold together. Bake time for gluten-free doughs tends to stretch longer, so plan for an additional 10 minutes. And don’t forget to line your pan super well since gluten-free goods love to stick.
- → How should I store leftovers?
Stash any extras in a sealed container to keep it moist for up to 2 days on the counter. Avoid fridges—it dries out the bread big time. For longer keeps, spread pieces on a tray to freeze, then bag the frozen chunks. When you're ready, microwave for about 30 seconds or reheat in the oven at 300°F for around 5 minutes. The glaze might get a little soft, but it’ll still taste amazing!
- → Can I prep it the night before?
You sure can! Layer everything into your pan, cover with plastic wrap, and pop it in the fridge overnight. Let it warm up on the counter while preheating the oven (takes around 20 minutes). It might need an extra 5-10 minutes to bake since it begins cold. Save making the glaze for the morning, though; it’s best fresh!
- → Any good alternatives to apples?
Definitely! Pears are fantastic if they’re firm. Summer peaches work too, but pat them dry first to dodge sogginess. Want to use canned fruit? Just drain it really well. In autumn, plums are dreamy. Berries thrown in with a dusting of flour before baking also shine. Whatever fruit you pick, make sure the chunks are cut as small as apple pieces to bake evenly. Bonus tip: extra cinnamon pairs well with pears, and nutmeg complements peaches incredibly well.
Conclusion
If you’re into the apple and cinnamon vibe, you’d probably love making apple-studded muffins or even rolling bits of apple into cinnamon rolls. Pancakes topped with warm applesauce? That’s another win. These are all simple tweaks for a cozy breakfast spread.