
 Pin it
The Secret Behind Their Popularity
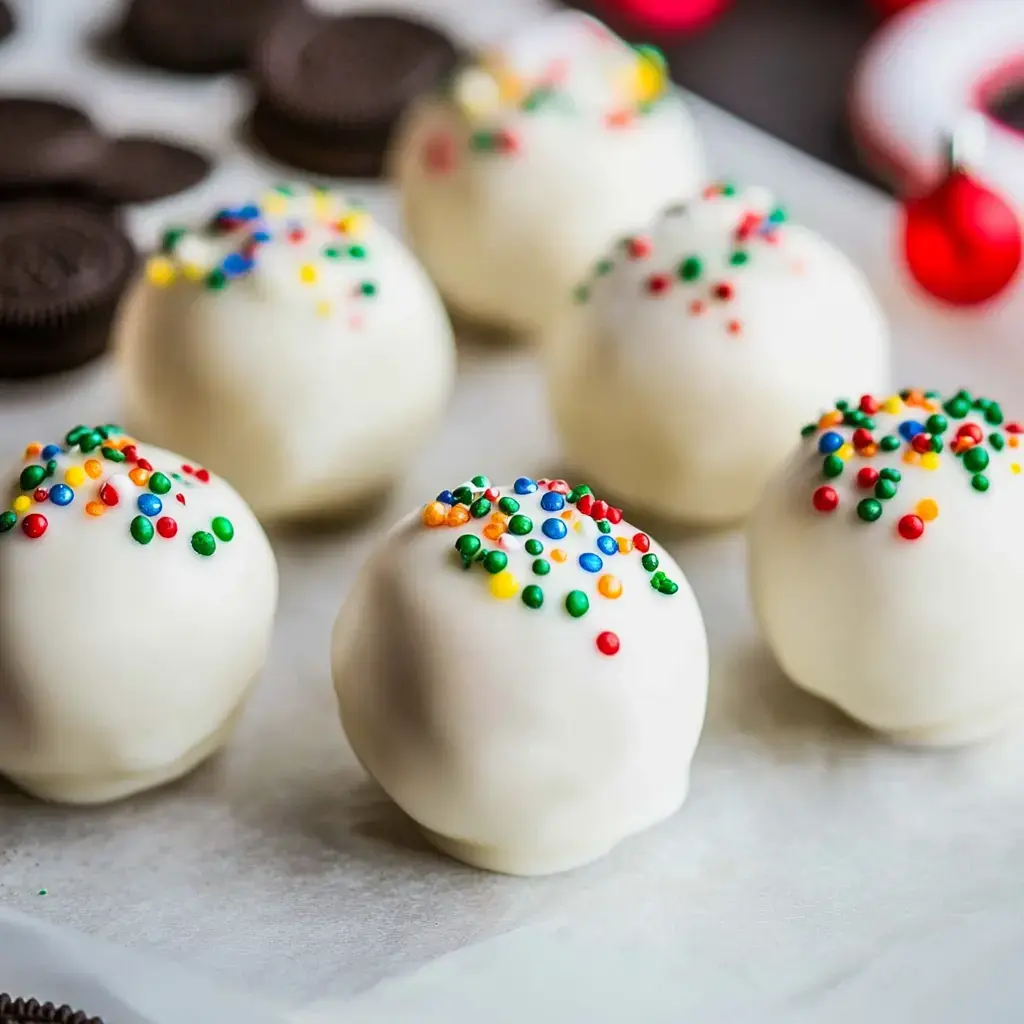
You'll only need a trio of ingredients - Oreos, cream cheese, and white chocolate. Toss in festive sprinkles for a pop of color. You can make them well ahead of your event - they store wonderfully in your fridge. They seem elaborate but come together in no time.Required Ingredients
- Oreos: A full package, don't remove the creamy middle
- Cream Cheese: Make sure it's room temperature
- White Chocolate: Choose one that melts smoothly
- Sprinkles: Christmas colors of red and green
Preparation Steps
- Prep area:
- Line a baking tray with parchment
- Pulverize cookies:
- Grind Oreos in a food processor until fine like soil
- Combine ingredients:
- Add crushed cookies and softened cream cheese to a bowl. Knead by hand until blended
- Shape mixture:
- Form into tiny balls, similar to marbles. Chill in freezer for 15 minutes
- Prepare coating:
- Warm white chocolate in microwave briefly, mix until creamy
- Coat balls:
- Submerge each ball in chocolate. Allow excess to run off
- Add decoration:
- Scatter sprinkles on top while chocolate remains soft
- Refrigerate:
- Store in fridge until ready to serve
Their Irresistible Appeal
These bites combine all the good stuff - Oreos, cream cheese, and white chocolate. With sprinkles added, they look just like tiny holiday treats. Set them out at your gathering and they'll disappear in minutes.Why This Combo Works
The magic lies in the basic blend. Smash Oreos, mix with cream cheese till it's all combined. The white chocolate shell gives them a fancy touch. Top with sprinkles and they're ready for Christmas celebrations.Decoration Options
Play around with different styles - red and green sprinkles are always a hit. Shape some to resemble tiny snowmen. Smash candy canes for a minty topping. You can even add swirls of colored chocolate. Get creative and make them your own.Handy Tricks
When the mixture feels stiff, your fingers work much better than utensils. A tiny bit of oil can thin chocolate that's too thick. Grab a small ice cream scoop for uniform balls. Use parchment on your tray to prevent sticking.Storage Solutions
Store them in an airtight container in your fridge. They'll stay fresh for seven days. Need to keep them longer? Pop them in the freezer - they'll last up to two months. Great for planning ahead or creating homemade gifts.Tasty Variations
Switch things up each batch you create. Swap in dark chocolate for coating. Add crushed candy canes to the mix. Cover them with chopped nuts. They'll taste fantastic with any changes you make.Perfect Occasions
Great for holiday gatherings. Children enjoy forming the balls and adding sprinkles. Make a big batch to give as presents. Take them to office parties - folks will ask for seconds.Easy Solutions
Mixture too runny? Cool it down in the fridge. Chocolate clumping? Heat more gradually. Balls crumbling? Freeze them a bit longer. Most issues have simple answers.How To Serve
Let them warm up slightly before eating. They taste better when not completely cold. Display them nicely alongside other treats. Keep extras chilled until needed.Packaging Ideas
Arrange them in cute containers with tissue paper. Include a note listing the ingredients. Display them beautifully on platters at gatherings. Everyone will want your recipe after tasting them.Frequently Asked Questions
- → Can I switch the chocolate?
Totally! Dark chocolate gives a rich flavor, milk chocolate adds sweetness, and colorful melts are fun for holidays. Just skip chocolate chips—they don’t melt smoothly. Try red or green melts for Christmas flair!
- → What’s the best way to store them?
Put them in a sealed container and into the fridge where they’ll stay fresh up to 2 weeks. Want to save for longer? Freeze them for up to 2 months. Let them sit out 30 minutes to thaw. Don’t leave them at room temp—they’ll get too soft.
- → How do I make these without dairy?
Just grab dairy-free cream cheese (the tub version works best) and dairy-free chocolate bars. Some grocery stores carry vegan-friendly Oreos these days—look for special labeling. They’ll still look awesome, with just a slightly different taste.
- → What's the easiest way to melt chocolate?
The microwave’s quickest—start with 30 seconds, stir, then heat for 10-second bursts till smooth. On the stove? Use a heatproof bowl over simmering water. Avoid water touching the chocolate or it’ll clump! Add a splash of oil if needed to thin it.
- → How long does it take for them to firm up?
Chill the filling in the fridge for 15 minutes—it’s a good time to prep add-ons! After dipping, refrigerate them for 30 minutes to set. In a hurry? Pop them in the freezer for 10 minutes. Skipping the chill step makes them fall apart!
Conclusion
Love quick sweets? Try these ideas:
- Oreo Shake: A glass full of cookies and ice cream
- Quick Oreo Tart: Looks fancy, super simple
- Oreo Pie: Crush them into a tasty crust
- Oreo Cheesecake Squares: Creamy and sharable in bars