
 Pin it
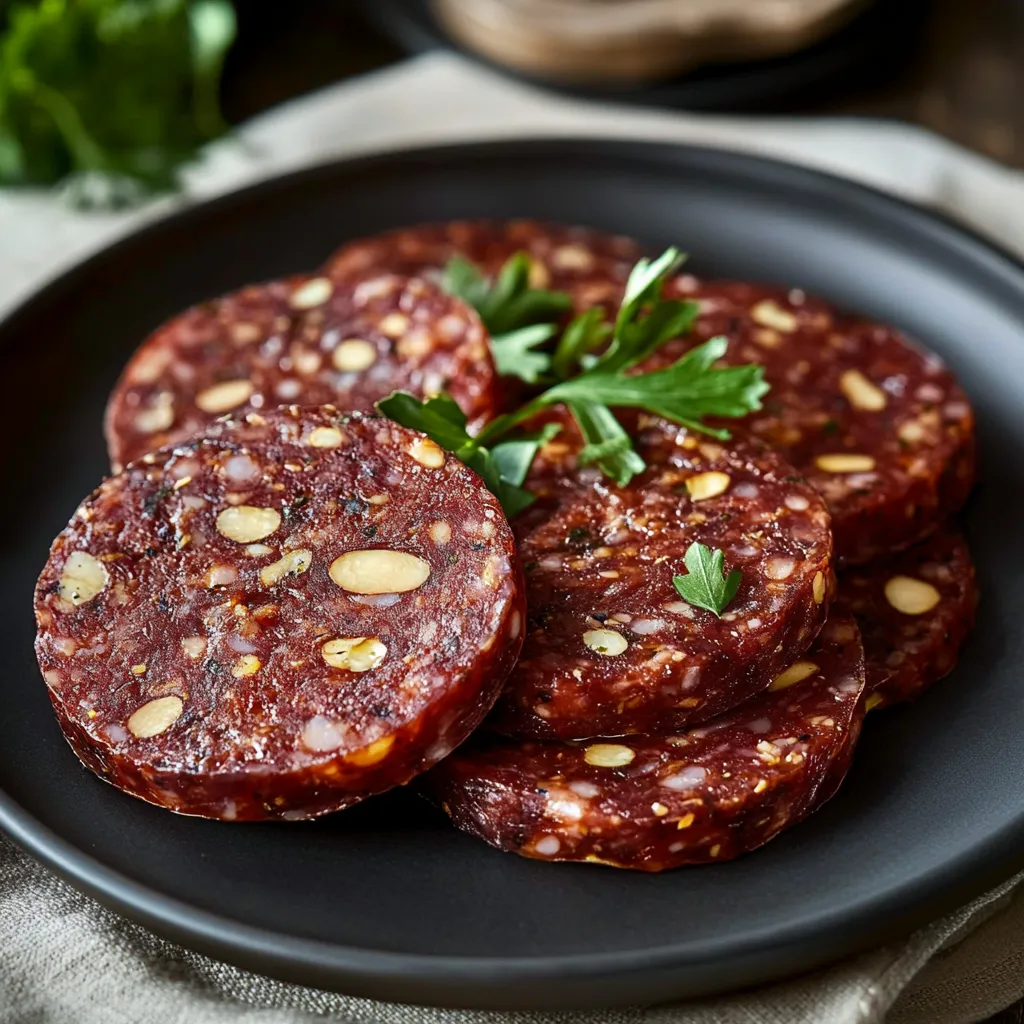
This vegan salami blends Italian heritage with plant-based creativity, capturing all the deep, layered tastes of traditional versions. Through countless kitchen experiments at home, I've nailed this meatless alternative that gives you the same enjoyable experience as regular salami, making it a must-have for your plant-based meal planning.
I've brought this to so many family parties and watched serious meat fans grab more helpings. What really proved this recipe worked was when my neighbor from Italy couldn't spot that it wasn't real salami.
Key Ingredients Breakdown
- Textured Soy Protein: The backbone of our plant-based salami, giving you that ideal chewy bite and protein boost for true authenticity
- Fresh Beetroot: Adds those beautiful marble streaks while boosting the overall taste complexity
- Smoked Paprika: Delivers necessary richness and that gentle smoky flavor that makes salami so tempting
- Whole Black Peppercorns: Pick freshly broken ones for the boldest taste and visual interest
- High Quality Olive Oil: Brings necessary moisture and helps nail the texture
Making Your Plant-Based Salami
- Getting Ready:
- Mix your spices by crushing whole peppercorns and fennel seeds until they smell fragrant, then add in paprika and garlic powder for that real salami flavor.
- Starting Point:
- Soak the textured soy protein in steaming hot veggie broth, letting it drink up all those tasty flavors while keeping its meaty structure.
- Combining Everything:
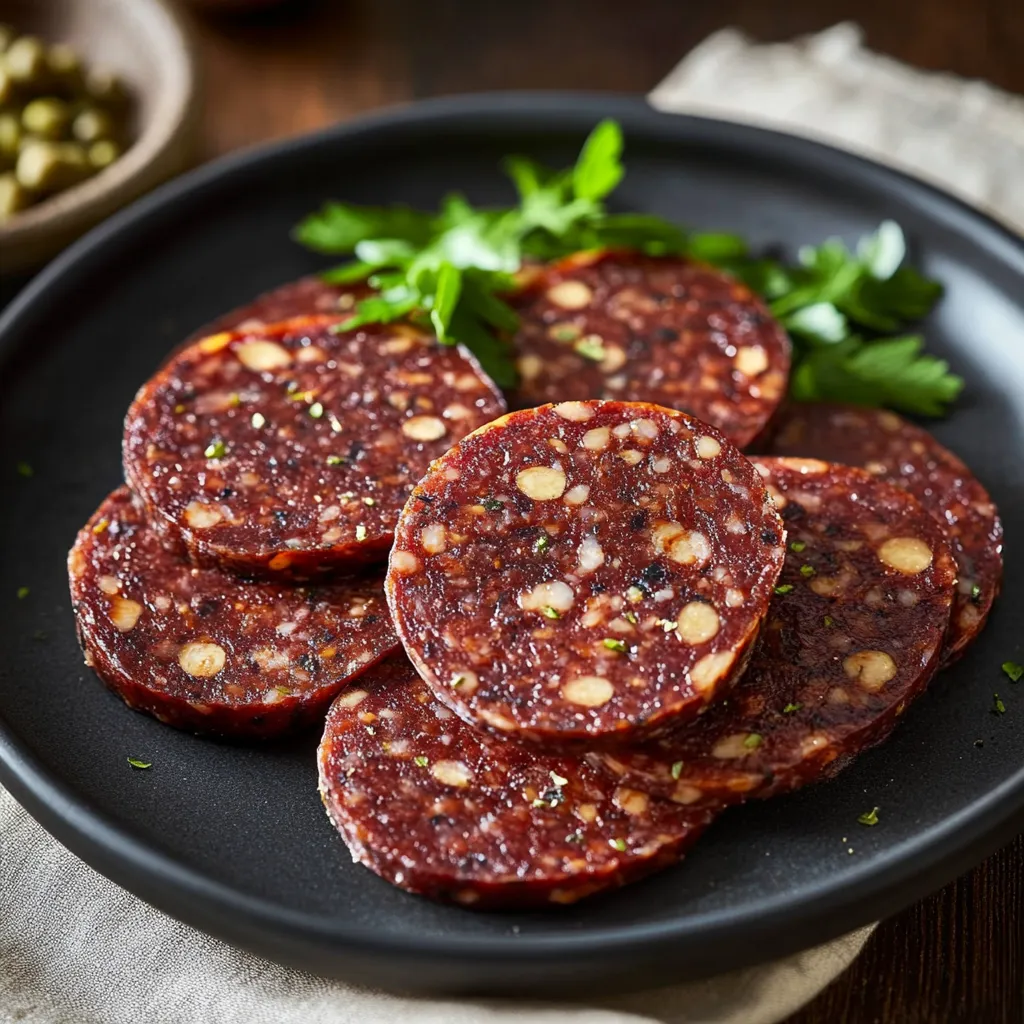
- Slowly fold the beetroot puree into your protein base, adding bit by bit to create those classic streaks you see in traditional salami.
- Shaping It:
- Pack the mixture into logs while pressing firmly and evenly to get rid of any air bubbles that might mess up your texture.
- Proper Wrapping:
- Gently roll the logs in parchment first, then aluminum foil, twisting the ends securely to make that traditional salami shape.
- Cooking Time:
- Put your wrapped logs in a hot oven, watching them carefully to get that perfect firm yet sliceable result.
- Resting Time:
- Let your salami cool all the way before unwrapping so it sets properly for the best texture.
 Pin it
Coming from an Italian family background, I wasn't sure about making salami without meat. But after getting this recipe just right, it's now something we can't do without, especially when we're celebrating holidays.
Tasty Companions
Make your vegan salami experience even better by adding some crusty sourdough, tasty olives, and juicy fresh figs. These textures and flavors working together create an amazing starter plate that respects Italian food traditions.
Ways To Switch It Up
Take this starter recipe and make it your own by trying different spices like hot Calabrian chilies or aromatic fennel pollen. If you need to avoid gluten, just swap the vital wheat gluten for chickpea flour instead.
Storage Advice
Keep your vegan salami wrapped in parchment inside a sealed container. It stays tasty and maintains its texture for about ten days in the fridge, actually getting more flavorful as time passes.
Pro Kitchen Tips
 Pin it
After tweaking this dish for years, I'm still surprised by how it brings plant lovers and traditional food fans together at my dinner table. It's grown beyond just a meat alternative – it's now a celebration of new ideas while staying true to classic Italian flavors.
Frequently Asked Questions
- → How long can I keep vegan salami before it goes bad?
- If stored in the fridge, it stays good for about 7 days. Pop it in the freezer, and it'll last up to 3 months.
- → Can I change the flavors or spices?
- Absolutely! Adjust the seasonings to your liking—more chili for heat or different herbs for a new twist.
- → What are some fun ways to use vegan salami?
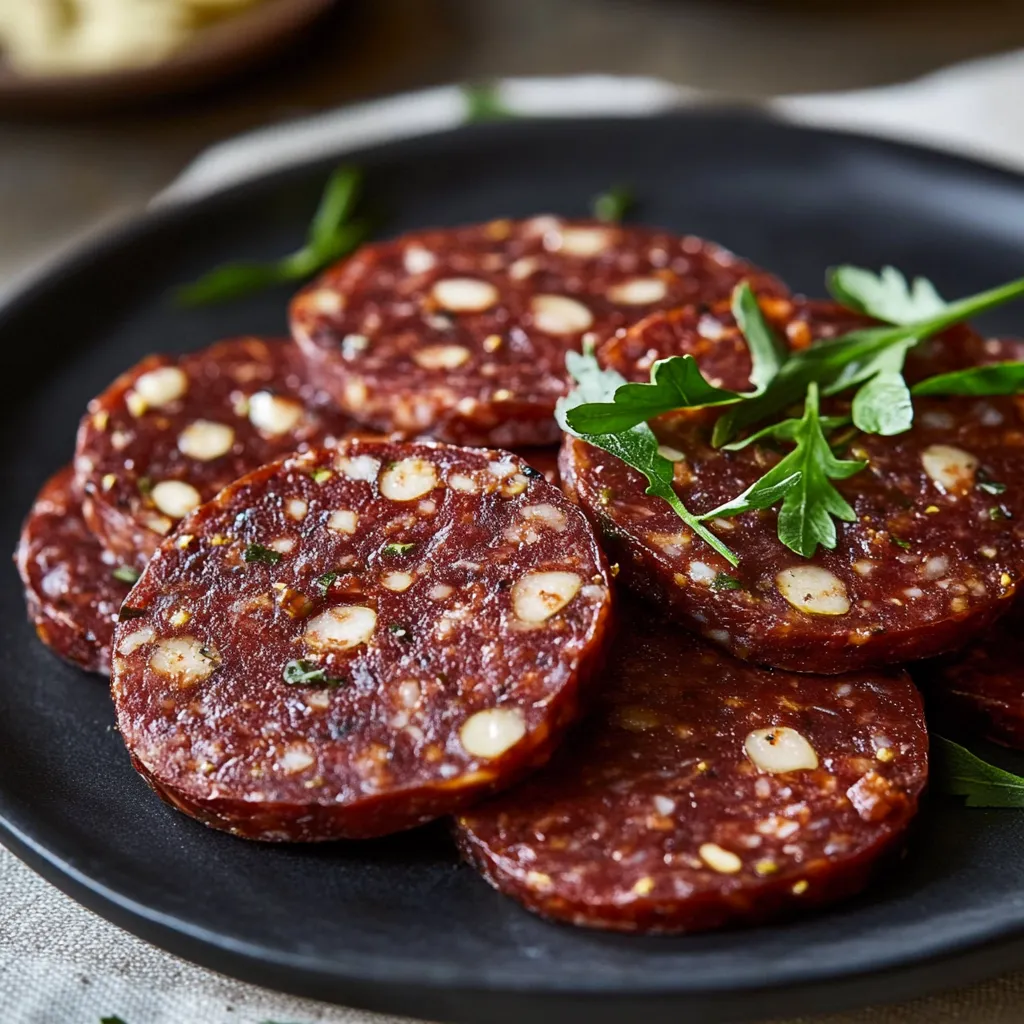
- Slice it thin and toss it in sandwiches, pizzas, or charcuterie boards. Letting it chill overnight deepens the flavors.
- → Is this suitable for gluten-free diets?
- Unfortunately, this recipe isn’t gluten-free since it’s based on vital wheat gluten. You’d need a separate gluten-free version.
- → Can I steam this instead of baking?
- Of course! Steam it for about 45–60 minutes. Both methods work great, so go with what you prefer.