
 Pin it
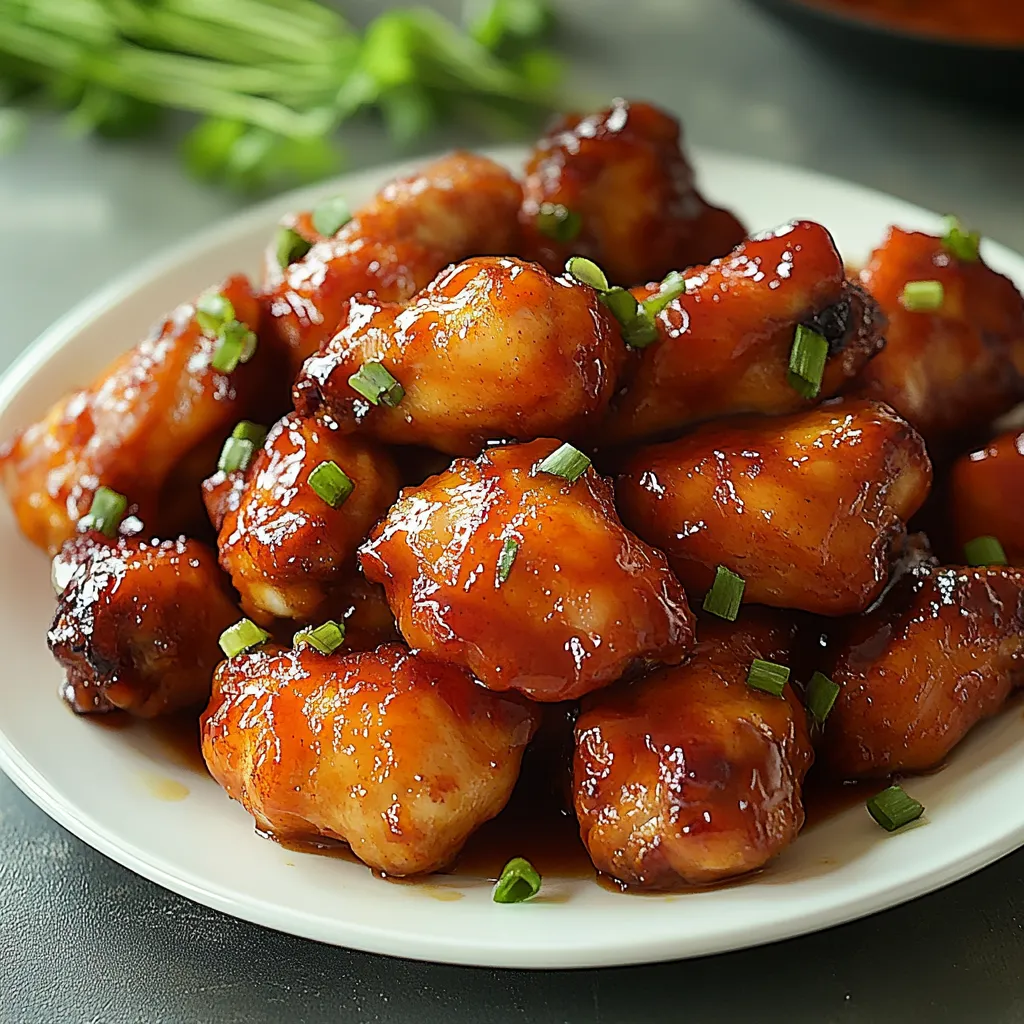
That wonderful smell of sweet and sour chicken cooking makes me think of all our family get-togethers. This homemade take on the classic takeout dish turns into something extra special - you'll love how the juicy chicken gets covered in that perfectly balanced sauce that turns all golden brown while baking. You end up with something that tastes like restaurant food but with all the good stuff that comes from making it yourself.
I've made this so many times now, and it's what my family always asks for on weekends. The way that sauce gets thick and coats each chicken piece while it bakes creates this amazing sticky, caramelized layer that has everyone grabbing seconds.
Key Ingredients For Amazing Results
- Chicken breasts: They give you that lean, tender base that cooks up beautifully. Try to grab pieces that are about the same size so they cook evenly
- Cornstarch: This makes that light, crispy outer layer. Just make sure it's not too old or it won't thicken right
- White vinegar: Brings that needed tartness - you can swap in rice vinegar too for a gentler sour note
- Fresh garlic and ginger: These punch up the sauce with real Asian flavor. Chop them right before you cook for the best taste
Crafting Your Sweet and Sour Delight
- Get Your Chicken Ready:
- Start by cutting the chicken into 1-inch chunks that are roughly the same size for even cooking. Grab some paper towels and dry them completely - this really helps get that crispy outside.
- Prep Your Coating Area:
- Make a station with seasoned cornstarch in one bowl and beaten eggs in another. Go piece by piece, first in the cornstarch, then through the egg.
- Warm Up Your Oil:
- Get your oil hot but not smoking. Drop in a tiny bit of chicken - it should gently bubble right away.
- Get Some Color on the Chicken:
- Cook small batches so the pieces aren't crowded - this helps them get that nice golden outside.
- Mix Up the Sauce:
- While your chicken browns, stir all your sauce stuff together until you can't see any sugar crystals.
- Put in Baking Dish:
- Move your chicken to a baking dish, keeping it in one layer so the sauce can reach everything.
- Pour Sauce Over:
- Drizzle that sauce all over, making sure each chicken piece gets some love.
- Spoon Sauce While Baking:
- Every 15 minutes, open the oven and spoon that thickening sauce back over the chicken pieces.
 Pin it
When I was little, my grandma always put a bit of pineapple juice in her sweet and sour sauce. That little tropical hint has become my own hidden trick, adding that something extra that makes this dish really stand out.
Tasty Companions
Make a full Asian dinner by serving your sweet and sour chicken with some fluffy jasmine rice that soaks up all that yummy sauce. Throw in some steamed broccoli or snap peas for extra color and crunch.
Make It Your Own
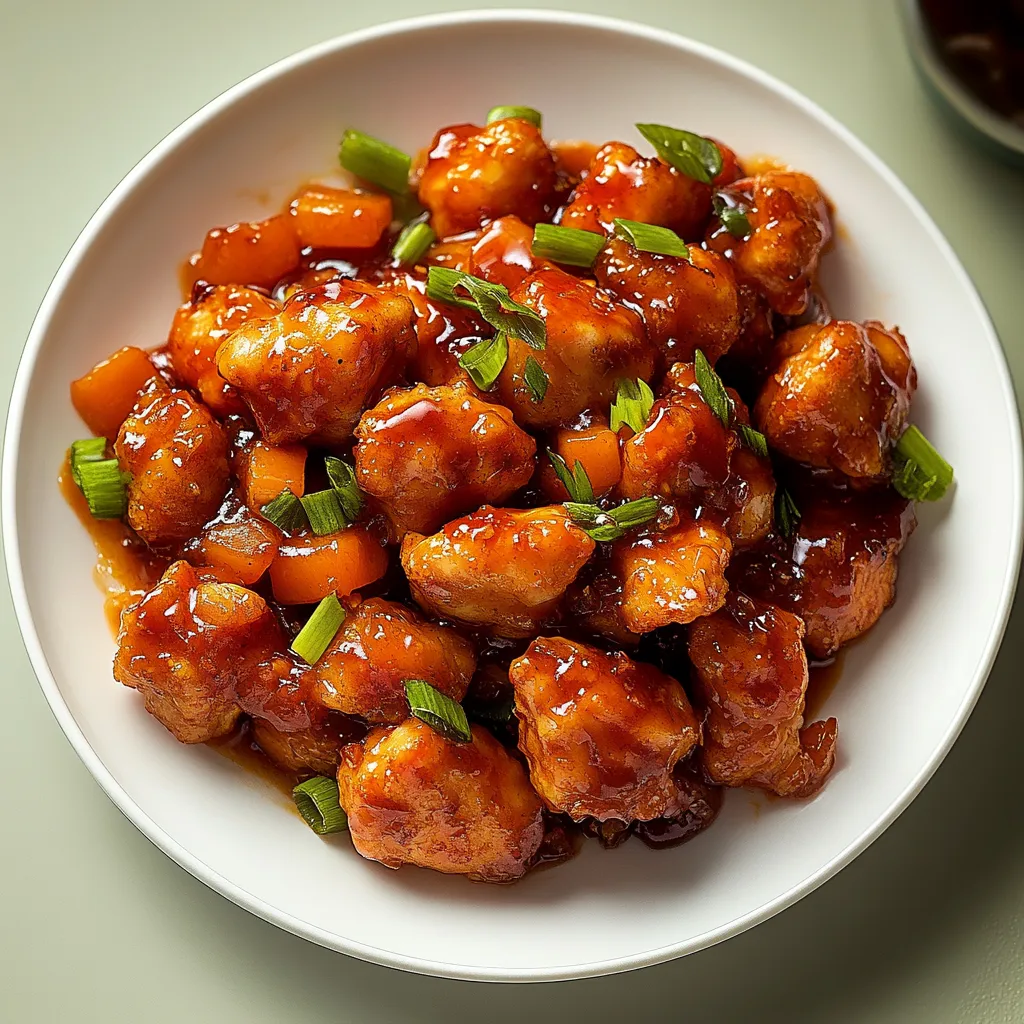
Switch things up by tossing in some bell peppers and onions for the last 15 minutes of cooking, or add pineapple chunks for a tropical feel. Want something lighter? Try using chicken tenders instead and cut back on the sugar a bit.
Saving For Later
Got leftovers? Pop them in a sealed container and they'll stay good for about three days. When you warm it up, add a little splash of water and cover it to keep the sauce nice and smooth and stop the chicken from drying out.
 Pin it
I've tweaked this dish for years now, and I've learned it's not just about following directions - it's about seeing how everything works together to make something really special. The way that sauce gets thick and sticky, how the chicken stays so juicy under that crispy coating - these little things turn this sweet and sour chicken into the kind of meal that brings everyone to the table with smiles.
Frequently Asked Questions
- → Can I prepare this in advance?
- You can make the chicken and the sauce separately up to a day ahead. Just mix and bake when it's time to serve. It's freshest when made right away.
- → What sides go well with this chicken?
- Serve it with steamed rice, noodles, or cauliflower rice. Mix it up with some broccoli, bell peppers, or carrots for a balanced meal.
- → Can I swap chicken breasts for thighs?
- Sure! Boneless chicken thighs work great and tend to stay moist longer. The cooking time will stay the same.
- → How do I keep leftovers fresh?
- Pop leftovers in an airtight container in the fridge. They’ll stay good for about 3 days. Warm them up in the oven at 325°F for a better texture.
- → Why is my sauce watery?
- Give it a stir every 15 minutes while it bakes. If it's still runny, leave it in the oven uncovered until it thickens up the way you like.