
 Pin it
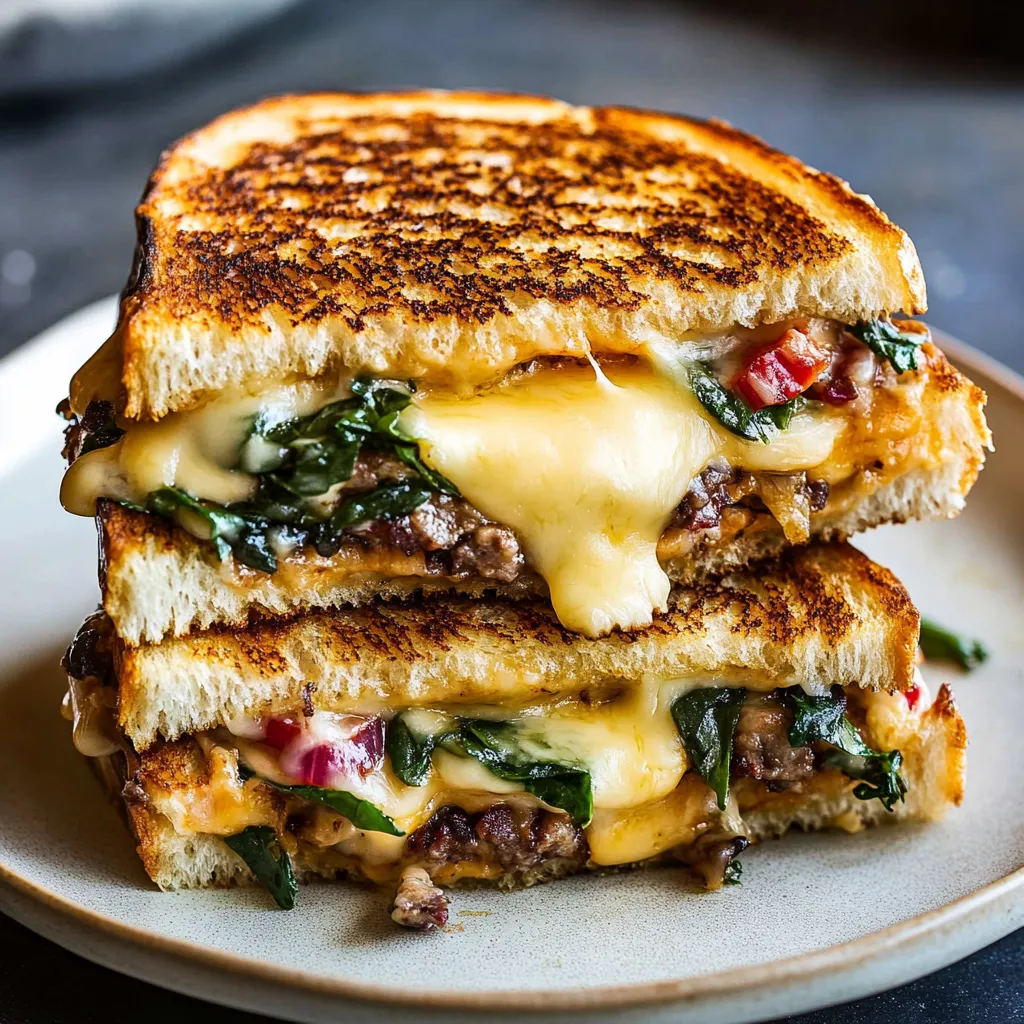
I found out that bringing the garlic herb cheese to room temp first makes it super easy to spread and creates an even richer sandwich experience.
Key Ingredients and Smart Selection Advice
- Bread: Go with sourdough or rustic loaves for better crunch
- Garlic Herb Cheese: Try Boursin or a plant-based version for amazing taste
- Mozzarella: Both fresh balls and pre-shredded work wonderfully
- Sun-dried Tomatoes: Choose ones packed in oil for extra flavor
- Butter: Either dairy or plant-based, softened for spreading
Step-by-Step Cooking Guide
- Step 1: Nail Your Foundation
- Combine the herb cheese with tomatoes and walnuts, bring everything to room temperature, spread with a light touch, and make sure you cover the bread fully.
- Step 2: Perfect Your Construction
- Stack your ingredients in a smart way, putting firmer items at the bottom for support. Don't overstuff or things will fall out. Spread cheese evenly for consistent flavor. Gently push everything together so it stays put.
- Step 3: Cook to Golden Wonder
- Stick with medium-low heat the whole time so everything cooks without burning. Keep an eye on both sides to get that perfect golden color. Pay attention to the sizzle sound which tells you things are heating right. Look for melty cheese at the edges as a sign it's ready.
 Pin it
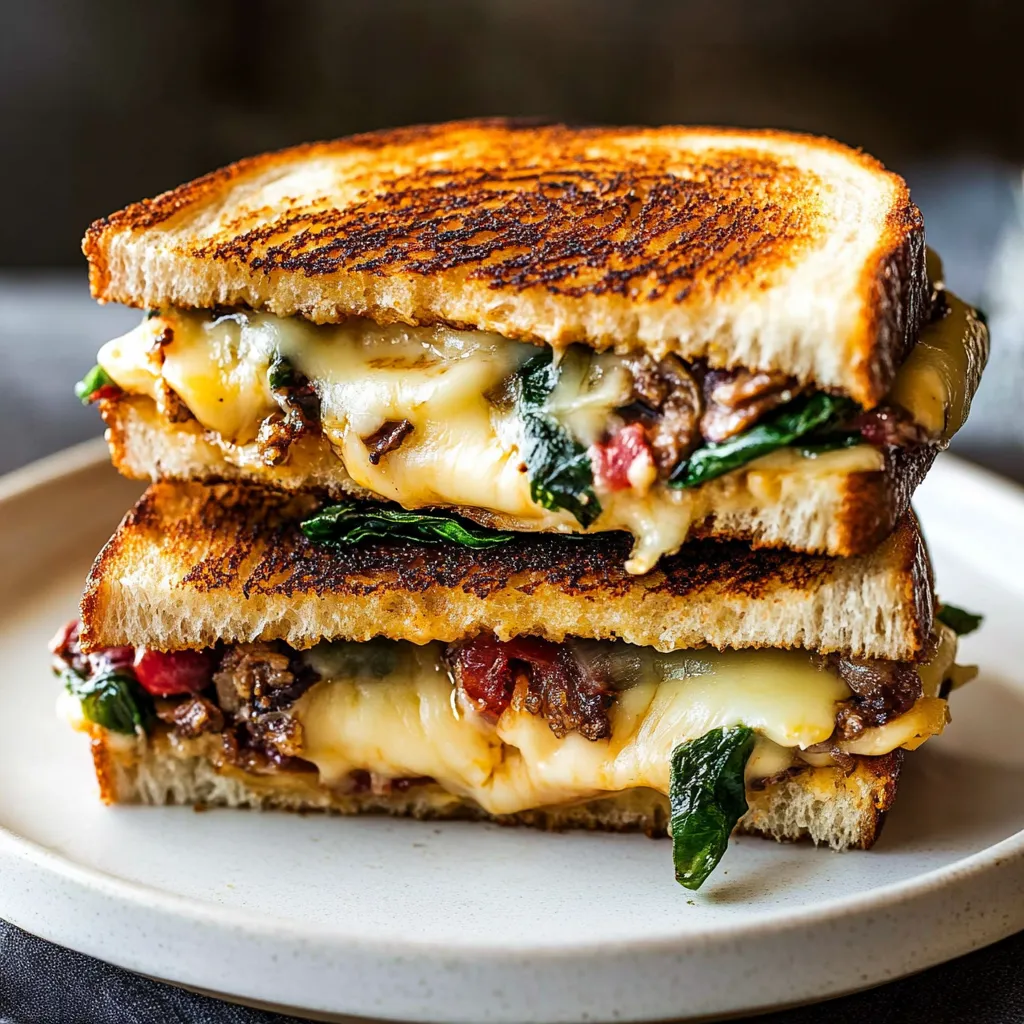
My little trick is adding a tiny bit of sea salt on the buttered outside - it really brings out all the flavors inside.
Mastering The Grilling Technique
Getting the heat spread out evenly makes all the difference for a well-cooked sandwich. Taking your time builds that perfect outer crunch, so don't try to speed things up. Press down lightly to keep everything inside where it belongs. Getting the timing right means your cheese melts perfectly without burning the bread.
Prep-Ahead Strategies
Get your herb cheese mix ready beforehand to cut down on prep time. Chop and store your toppings in different containers to keep them fresh. Cut your bread ahead of time to make assembly faster. Let your butter soften on its own for easier spreading all over.
Fixing Common Problems
If your bread gets too dark before cheese melts, turn the heat down for gentler cooking. When fillings start sliding out, let some cheese melt first to act like glue. If everything seems too dry, add a bit more butter for better taste and texture. For uneven browning, try turning your sandwich now and then for better heat coverage.
Fun Twist Ideas
Throw in some fresh basil for extra flavor pop. Play around with different cheese combos to create your own special blend. Try adding roasted red peppers for sweet smokiness, or mix in some artichoke hearts for a Mediterranean feel.
The first time I made these for company, nobody could believe we were eating 'just' grilled cheese!
 Pin it
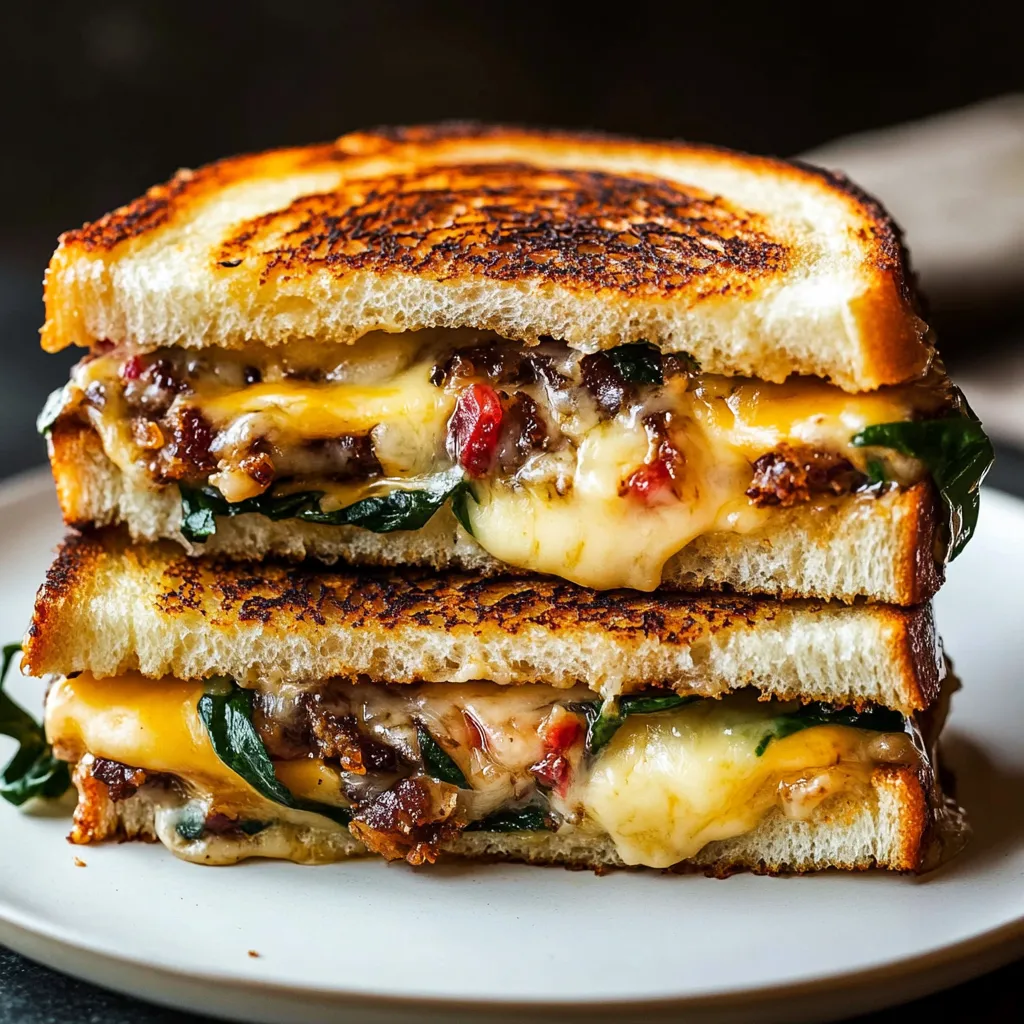
After working on this grilled cheese many times, I've realized the magic is in the small things. The way cheese seeps into every tiny space, how the outside gets that beautiful golden color, and how all the flavors work together makes this way more than just a sandwich. Whether you go with the regular or dairy-free version, this fancy grilled cheese brings gourmet vibes to your comfort food.
Frequently Asked Questions
- → What’s the best bread to use?
- Sturdy sourdough or crusty artisan loaves toast beautifully without getting too soft. Skip regular sandwich bread.
- → How do I melt the cheese right?
- Let the cheese come to room temperature first, and cook slowly on medium-low so it melts without burning the bread.
- → Can I make the garlic cream early?
- Totally! Prep it up to two days before, and keep it cold in the fridge. Let it soften for easier spreading.
- → What works as a mozzarella substitute?
- Try provolone, fontina, or gruyere—any cheese that melts really well does the trick.
- → Why isn’t my bread crispy?
- Start with a hot pan and make sure the butter’s spread evenly. Press down lightly while it cooks for extra crunch.