
 Pin it
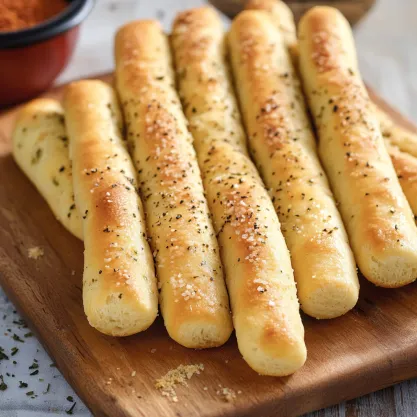
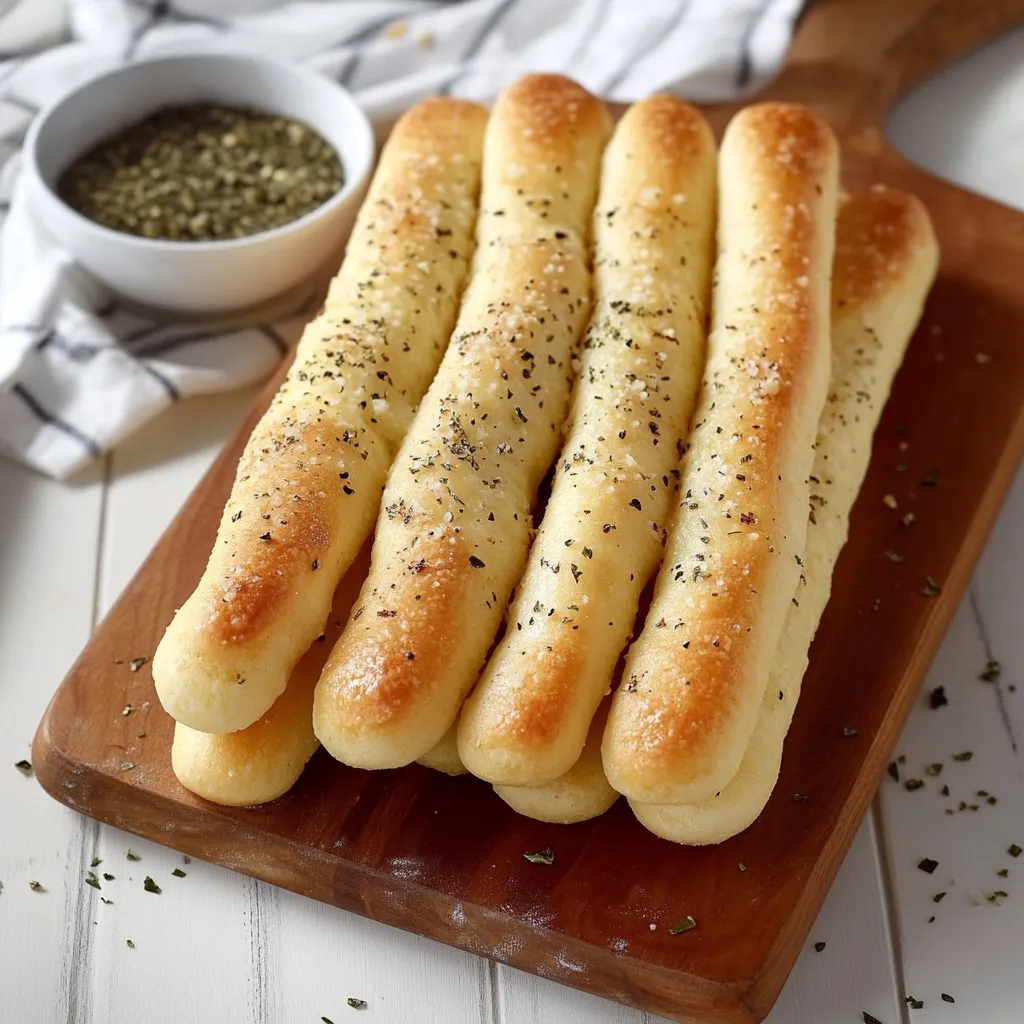
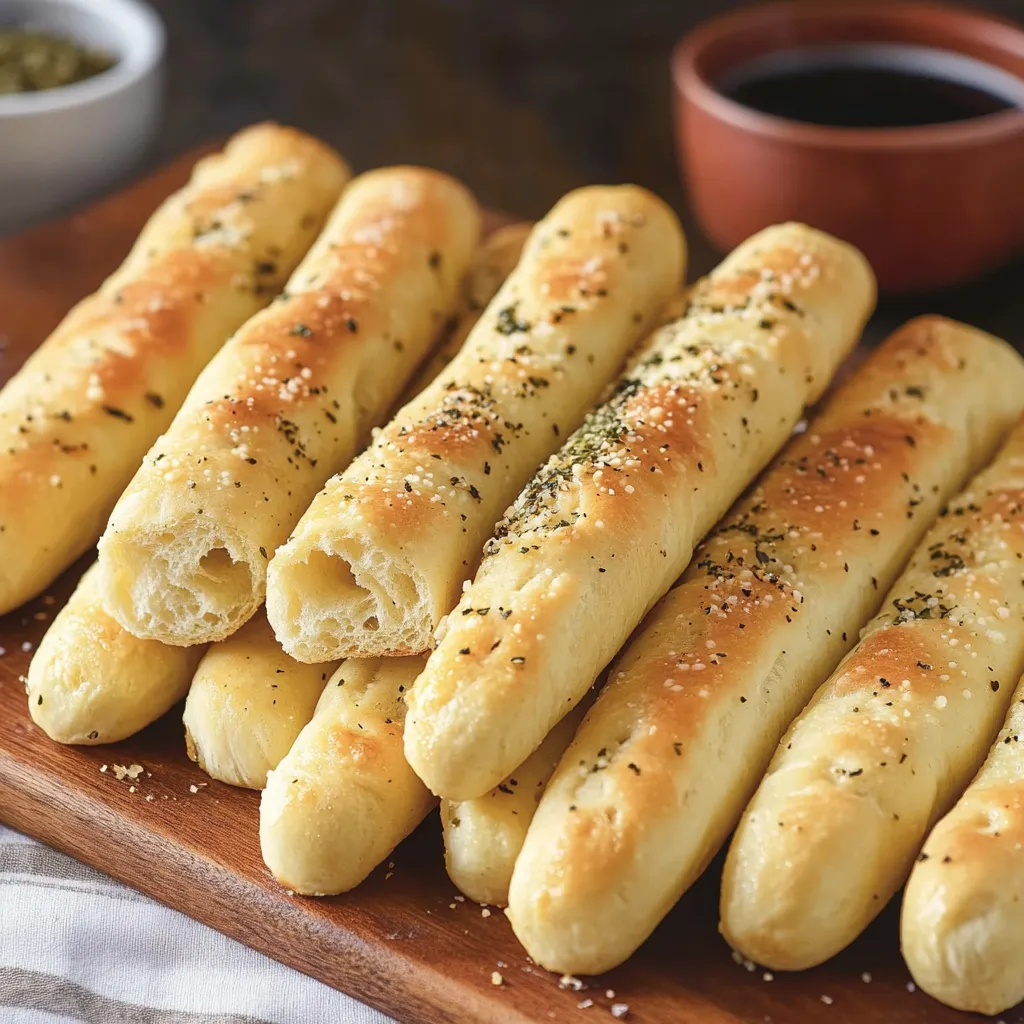
The tantalizing smell of hot breadsticks fresh out of the oven, brushed with garlicky butter and baked to a gorgeous golden hue, brings all the magic of Olive Garden straight to your home. These DIY breadsticks nail that perfect combo of fluffy inside and slight crunch outside, making them pretty much identical to those famous restaurant ones we all can't stop eating.
I've spent so many years playing with different flours and letting dough rise in various ways until I finally cracked the code with this version. Now my family begs me to make these breadsticks whenever we get together, and they're gone in a flash every time.
Crucial Ingredients Breakdown
- Active dry yeast: Gives you that perfect lift and builds flavor while it works. Make sure yours isn't expired and keep it cold in your fridge
- Unbleached all-purpose flour: Makes the texture just right. Go for one with 10-12% protein to get that nice chew
- High-quality salted butter: Boosts the rich taste. Try using European butter with extra fat for the best results
- Regular white sugar: Helps feed the yeast and balances everything out. Don't swap in honey or other sweet stuff
- Sea salt: Brings out all that buttery goodness. Kosher salt works too, but stay away from regular table salt
- Garlic powder: Adds reliable flavor throughout. Skip fresh garlic since it might burn while baking
- Mediterranean oregano: Gives that true Italian touch. You can also use Turkish oregano if that's what you have
Crafting Outstanding Breadsticks
- Kicking Things Off:
- Combine water at 110°F with yeast in a glass container and wait for bubbles to show it's working. At the same time, measure your flour carefully by spooning it into cups and leveling off the top.
- Building Your Foundation:
- Mix together sugar, room temperature butter, and salt in your mixer bowl. Make sure that butter isn't cold or it won't blend well. Add your flour bit by bit, letting each addition mix in completely.
- Getting The Perfect Rise:
- Create a cozy spot for your dough by briefly warming your oven then turning it off. Put your dough in an oiled bowl and cover with a damp towel to keep the moisture just right.
- Forming Beautiful Sticks:
- Place each piece of dough on a lightly floured wooden or marble counter. Roll with your hands using light, steady pressure from middle to ends. Try to keep them the same thickness all the way through.
- Setting Up For Success:
- Arrange your breadsticks on baking sheets lined with parchment, leaving two inches between each one. Cover them with a clean kitchen cloth and wait until they look puffy.
- Adding That Final Magic:
- Coat with melted garlic butter mixture, using half before they go in the oven and half when they come out. This double coating creates layers of flavor that make them impossible to resist.
 Pin it
I grew up in an Italian family where making bread was our special weekend tradition. My grandma always told me that you can taste the love someone puts into their bread. These breadsticks really show that truth in every bite.
Wonderful Food Combinations
Make any meal feel like you're dining out by serving these warm breadsticks with thick Italian soups, fresh green salads, or your favorite pasta dishes. They work wonders when you use them to soak up rich tomato sauce or creamy alfredo.
Fun Variations
Try new flavor ideas by mixing roasted garlic into your dough, topping with everything bagel mix before they bake, or adding some red pepper flakes for heat. For a healthier option, you can swap up to one-third of your white flour with whole wheat while still keeping them soft.
Keeping Them Fresh
Keep your breadsticks in a paper bag at room temp for a couple days to maintain their crisp outside. Bring day-old breadsticks back to life with a light water spray and five minutes in a 350°F oven. You can also freeze shaped but unbaked breadsticks for up to three months.
 Pin it
I've tweaked this recipe for years now, and I've noticed these breadsticks really bring folks together like nothing else can. There's something so special about sharing fresh bread, especially when it's still warm and made with care. Whether you're throwing a dinner party or just want some comfort food, these breadsticks always create those little moments of happiness around your table.
Frequently Asked Questions
- → Can I freeze these breadsticks?
- Absolutely! Store baked breadsticks in the freezer for up to 3 months. Thaw at room temperature and pop them in the oven briefly to warm up.
- → How do I store leftover breadsticks?
- Keep them in a sealed container at room temperature for 2 days. Pop them in the oven or microwave to reheat before enjoying.
- → Why didn’t my dough rise properly?
- This might happen if your yeast is outdated or the water’s temperature wasn’t right. Make sure the water feels warm but not hot (110-115°F), and check your yeast’s freshness.
- → Can I make the dough ahead of time?
- Sure! After kneading, let it chill in the fridge for up to a day. Take it out early enough to let it come to room temp before shaping.
- → What’s the best way to reheat these breadsticks?
- Wrap them in foil and warm them in a 350°F oven for about 5 minutes, or give each a quick microwave blast for 15 seconds.